Have you noticed your car acting differently lately? Maybe it’s idling roughly, losing power, or your fuel efficiency has dropped.
These could be signs of a vacuum leak—a common but tricky problem that can affect your engine’s performance. Finding a vacuum leak might sound complicated, but with the right approach, you can spot it yourself and save time and money.
You’ll discover simple, effective ways to find that leak and get your car running smoothly again. Keep reading, and you’ll learn exactly what to do next.
Signs Of A Vacuum Leak
Detecting a vacuum leak early can save you from costly repairs. Your car shows clear signs when a vacuum leak occurs. Recognizing these signs helps you act fast. Below are key indicators to watch for.
Common Symptoms
A vacuum leak often causes a rough idle or uneven engine running. Your car may stall or hesitate during acceleration. You might hear a hissing or whistling noise under the hood. The check engine light can turn on without clear reason. Poor fuel economy also suggests a vacuum leak. These symptoms appear because air escapes where it shouldn’t.
Impact On Vehicle Performance
Engine power drops when a vacuum leak is present. Your car may feel sluggish or less responsive. The engine might misfire, causing jerking or shaking. A vacuum leak can cause hard starts or failure to start. Emissions may increase, causing your car to fail tests. These effects happen because air-fuel mixture gets unbalanced.
Tools Needed For Detection
Finding a vacuum leak requires the right tools. Without proper equipment, the task becomes difficult. Some tools are simple and easy to use. Others are more advanced and help detect leaks faster. Knowing the tools can save time and effort.
Basic Equipment
A flashlight is important to see inside engine parts. A mechanic’s mirror helps look in hard-to-see spots. Soap and water mix shows leaks by bubbling on the surface. A hand-held vacuum pump can test hoses and fittings for leaks. These basic tools are affordable and easy to find.
Specialized Tools
A smoke machine fills the system with smoke to spot leaks visually. Ultrasonic leak detectors pick up sounds made by escaping air. Digital vacuum gauges measure pressure changes precisely. These tools are more costly but give accurate results. They are useful for frequent or tough vacuum leak problems.
Visual Inspection Tips
Visual inspection is the first step to find a vacuum leak. It helps spot obvious problems fast. You can see broken parts or loose areas that cause leaks. This method saves time and effort before using tools or tests.
Checking Hoses And Connections
Start by checking all hoses. Look for loose or disconnected hoses. Tighten any clamps or fittings you find loose. Make sure hoses are pushed fully onto their ports. Loose connections often cause vacuum leaks.
Check for dirt or oil on hose ends. Dirt can stop a good seal. Clean the hoses to ensure tight fits. A quick check here can fix small leaks fast.
Spotting Cracks And Wear
Examine hoses and plastic parts for cracks. Small cracks let air enter and cause leaks. Flex the hoses gently to reveal hidden damage. Look for worn or brittle spots too.
Inspect rubber gaskets and seals around connections. Worn gaskets can lose their sealing power. Replace any damaged parts you find. Fresh parts help keep the vacuum tight.
Using Soapy Water Method
The soapy water method is a simple way to find vacuum leaks in your vehicle. It uses a mixture of soap and water to spot air escaping from small cracks or holes. This method works by creating bubbles where the leak is, making it easy to see the problem area. It is safe, cost-effective, and does not require special tools.
Preparing The Solution
Start by mixing liquid dish soap with water in a spray bottle or bowl. Use about one part soap to three parts water. Stir or shake the mixture gently to create a soapy solution. Make sure the soap dissolves well but avoid making too many bubbles in the solution. This mixture will help reveal air leaks by forming bubbles on contact.
Applying And Observing Bubbles
Spray or brush the soapy water onto the vacuum hoses, connections, and fittings. Focus on areas where leaks often occur, such as joints and bends. Watch carefully for small bubbles forming on the surface. These bubbles mean air is escaping from a leak. Mark any spots with bubbles for further inspection or repair. Repeat the process as needed to check all suspect areas.
Smoke Test Technique
The smoke test technique helps find vacuum leaks quickly and clearly. It uses smoke to show where air escapes in the system. This method works well on cars and other machines with vacuum lines. It saves time by making leaks easy to see.
How Smoke Tests Work
Smoke enters the vacuum system through a special tool. It fills the pipes and hoses with visible smoke. Smoke escapes through any holes or cracks. This smoke shows the exact spot of the leak. Mechanics can fix leaks faster with this clear sign.
Performing The Test Safely
Use the smoke test in a well-ventilated area. Avoid open flames or sparks near the smoke machine. Wear gloves and safety glasses for protection. Follow the tool’s instructions carefully. Turn off the engine before connecting the smoke source. Take time to check all hoses and fittings for leaks. Safety keeps the test effective and damage-free.
Listening For Hissing Sounds
Listening for hissing sounds is a simple way to find vacuum leaks. Air escaping from a small crack or hole makes a distinct noise. This noise often sounds like a soft hiss. Paying close attention can help spot the leak quickly. Quiet surroundings improve your chances of hearing the sound clearly.
Using Your Ears Effectively
Stand close to the engine or area with the suspected leak. Turn off loud equipment or fans nearby. Close your eyes and focus on any unusual noises. Move your head slowly around hoses and connections. Hissing sounds often come from small gaps or cracks. Keep still to catch the faintest sounds. Repeat this process several times for better results.
Enhancing Detection With Tools
Use a mechanic’s stethoscope to listen closely. It helps pick up quiet noises deep inside machines. A length of rubber hose can work too. Place one end near your ear and move the other end near potential leaks. Spray soapy water on hoses and joints. Bubbles form where air escapes. This method confirms the location of the leak by sound and sight.
Checking Engine Codes
Checking engine codes is a helpful step to find a vacuum leak. Your car’s computer stores codes when it detects problems. These codes guide you to the source of the leak. Reading these codes saves time and effort. It gives a clear starting point for repairs.
Using An Obd-ii Scanner
An OBD-II scanner reads the engine codes stored in your car’s computer. Most vehicles made after 1996 have this system. Plug the scanner into the car’s diagnostic port. Turn on the ignition but don’t start the engine. The scanner will show a list of trouble codes.
This device is easy to use and affordable. It helps find codes related to vacuum leaks. The scanner can also clear codes after repairs. It gives a quick check for many engine issues.
Interpreting Vacuum Leak Codes
Vacuum leak codes often start with P0 or P1. These codes mean the engine is getting too much air. Common codes include P0171 and P0174. They point to a lean air-fuel mixture caused by leaks. Understanding these codes helps locate the leak faster.
Use the code description to find which part to check. Codes alone may not show the exact spot. Combine code reading with physical inspection for best results. This approach ensures you fix the right problem.
Quick Fixes And Repairs
Finding a vacuum leak fast helps stop engine problems early. Quick fixes and repairs save time and money. Some methods hold the leak temporarily. Others replace broken parts for a longer fix. Both ways help your car run better.
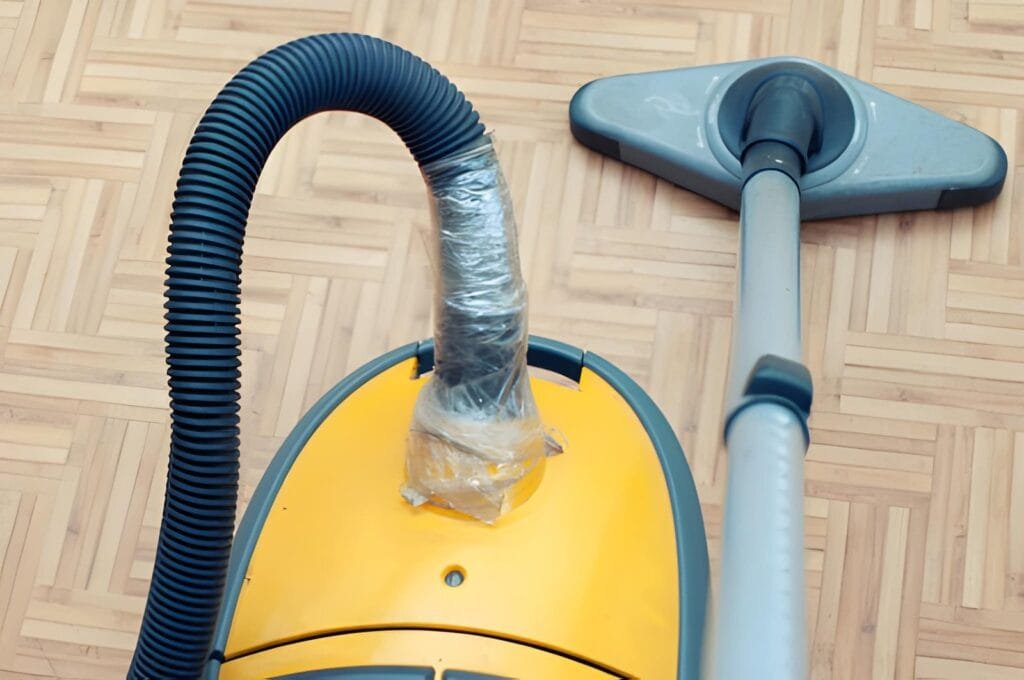
Temporary Sealing Methods
Temporary sealing stops small vacuum leaks. Use silicone spray or sealant on cracked hoses. Wrap tape tightly around tiny holes. These methods block air from entering the system. Keep in mind, these fixes last only days or weeks. Check the leak often to avoid bigger problems.
Replacing Damaged Parts
Damaged hoses or gaskets cause vacuum leaks. Replace worn parts for a strong, lasting repair. Use new rubber hoses that fit well. Change old gaskets that look cracked or dry. Always choose parts made for your vehicle. A quick part swap can restore engine power and smooth running.
Preventive Maintenance Tips
Preventive maintenance helps avoid vacuum leaks before they cause problems. Small checks and care keep your system running well. Save time and money by spotting issues early. Follow these tips to maintain a strong vacuum system.
Regular Inspections
Check your vacuum system often. Look for cracks, holes, or loose parts. A quick inspection takes only a few minutes. Use a flashlight to see hidden areas. Early detection stops leaks from growing.
Keeping Hoses In Good Condition
Hoses are easy to damage. Keep them clean and dry. Avoid sharp bends that can cause cracks. Replace old or worn hoses right away. Good hoses ensure strong suction and fewer leaks.
Frequently Asked Questions
What Are Common Signs Of A Vacuum Leak?
Common signs include rough engine idle, stalling, poor fuel economy, and check engine light. You may also hear hissing sounds near the engine.
How Can I Detect A Vacuum Leak At Home?
Use a carburetor cleaner or soapy water spray on hoses. If engine RPM changes or bubbles form, a leak likely exists.
Which Tools Help Find Vacuum Leaks Accurately?
A smoke machine, vacuum gauge, or stethoscope are effective tools. These help identify leaks quickly by visual or auditory clues.
Can A Vacuum Leak Damage My Engine?
Yes, it can cause poor performance, increased emissions, and potential engine damage if left untreated. Prompt repair is crucial.
Conclusion
Finding a vacuum leak can feel tricky but is doable. Start by checking hoses and connections for cracks or loose fittings. Use soapy water to spot bubbles, which show leaks clearly. Listen for hissing sounds near engine parts. Fixing leaks improves engine performance and saves fuel.
Take your time, and don’t rush the process. Small leaks cause big problems if ignored. Keep your tools ready and follow these simple steps. You can keep your vehicle running smoothly and avoid costly repairs.