Robot vacuums are helpful tools. They keep homes clean with minimal effort.
But, sometimes they show error codes. Understanding these codes can be confusing. This guide will help you decode them. You’ll learn what each error means. You’ll also find tips to fix them quickly. Save time and avoid frustration with our complete reference guide.
Whether it’s a simple obstruction or a technical glitch, this guide will cover it all. Let’s dive in and make your robot vacuum work smoothly again.

Credit: www.law.com
Common Error Codes
Robot vacuums are fantastic helpers. But they sometimes face errors. Understanding these common error codes can save time and frustration. Below, we discuss two common issues: battery problems and navigation troubles.
Battery problems are a frequent cause of robot vacuum errors. These issues can stop your vacuum in its tracks. Here are some common battery-related error codes:
- Error Code 1: Battery low. Charge the vacuum.
- Error Code 2: Charging error. Check the charger and connection.
- Error Code 3: Battery not detected. Reinsert or replace the battery.
If you see these error codes, check the battery and charger. Ensure the battery is properly inserted. Replace it if needed.
Navigation errors are another common issue. They prevent the vacuum from moving correctly. These errors often relate to sensors or software. Below are some navigation-related error codes:
- Error Code 4: Sensor blocked. Clean the sensors.
- Error Code 5: Stuck wheel. Remove debris from the wheels.
- Error Code 6: Navigation error. Restart the vacuum.
If you encounter navigation errors, inspect the sensors and wheels. Clean them if necessary. Restart the vacuum to reset the system.
Battery Issues
Robot vacuums are great for keeping floors clean with minimal effort. But, battery issues can stop them from working properly. Understanding common battery problems helps keep your robot vacuum running smoothly.
Low Battery Warning
A low battery warning means the robot vacuum needs recharging soon. Most models show a red light or a message on the app. Ignoring the warning can cause the vacuum to stop mid-cleaning.
To avoid this, always place the vacuum back on its charging dock after use. Regularly check the battery level through the app or on the device itself. Keeping an eye on the battery ensures your vacuum is ready to clean when you need it.
Charging Errors
Charging errors can prevent your robot vacuum from charging correctly. Common error codes include:
- Code 1: Charging dock not connected to power
- Code 2: Dirty charging contacts
- Code 3: Battery overheating
To fix these errors, follow these steps:
- Ensure the dock is plugged in and the power outlet works.
- Clean the charging contacts on both the vacuum and the dock.
- Let the battery cool down if it’s too hot.
If problems persist, the battery may need replacing. Always use a battery recommended by the manufacturer for best performance.
Navigation Problems
Robot vacuums are smart devices that simplify home cleaning. But they can face navigation problems. These issues stop them from completing their tasks. The most common navigation problems involve getting stuck and path obstructions. Understanding these issues can help you resolve them quickly.
Stuck Robot
One common issue is the robot getting stuck. This can happen due to various reasons:
- Low furniture: The robot may try to go under a low piece of furniture. It gets stuck because it cannot pass through.
- Rugs and carpets: High-pile rugs or carpets can trap the robot’s wheels. It cannot move forward or backward.
- Cords and wires: Loose cords can wrap around the robot’s wheels. This stops it from moving.
To prevent these issues:
- Clear the area of any obstacles before starting the robot.
- Use boundary markers to restrict access to problem areas.
- Raise low furniture or block access to it.
Path Obstruction
Path obstructions also cause navigation problems. These can be anything that blocks the robot’s path:
- Furniture: Chairs, tables, and other furniture can block the robot’s way.
- Debris: Small objects like toys and clothing can obstruct the path.
- Pets: Pets can move around and block the robot’s path.
To address path obstructions:
- Keep the floor clear of small objects.
- Move furniture to allow more open space.
- Keep pets away during the cleaning cycle.
By understanding these navigation problems, you can ensure smooth cleaning cycles for your robot vacuum. Keeping the area clear and using preventive measures will help your robot vacuum navigate efficiently.

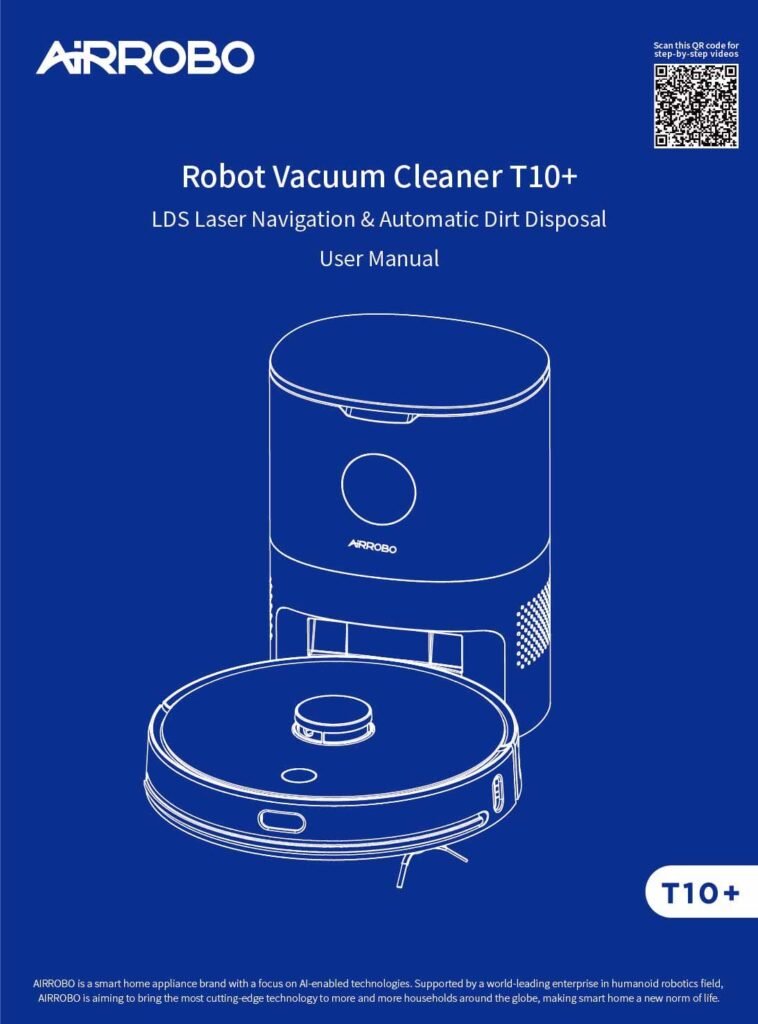
Credit: us.air-robo.com
Sensor Malfunctions
Robot vacuums rely on various sensors to navigate and clean effectively. These sensors help the device avoid obstacles, detect edges, and operate efficiently. Sensor malfunctions can disrupt the vacuum’s performance. Understanding these errors can help you troubleshoot and fix the issues.
Cliff Sensor Error
The cliff sensor helps prevent the robot from falling down stairs or ledges. When this sensor malfunctions, the robot may stop working or avoid certain areas unnecessarily.
- Check for dirt or debris: Clean the sensor using a dry cloth.
- Inspect the sensor for damage: Look for cracks or scratches.
- Reset the robot: Sometimes, a simple reset can solve the issue.
If the error persists, you may need to replace the sensor. Refer to your robot vacuum’s manual for specific instructions.
Wall Sensor Issue
The wall sensor helps the robot vacuum detect and follow walls for efficient cleaning. A malfunctioning wall sensor can cause erratic behavior or missed spots.
- Clean the sensor: Use a soft cloth to remove dust and dirt.
- Check the sensor’s alignment: Ensure it is not misaligned or blocked.
- Update the firmware: Sometimes, software updates fix sensor issues.
If cleaning and updates do not resolve the problem, consult the manual for further troubleshooting steps or consider professional repair.
Motor And Brush Errors
Robot vacuums are convenient. But, they can sometimes encounter issues. Common problems include motor and brush errors. Understanding these errors can help resolve them quickly. Here is a complete guide on motor and brush errors.
Brush Blockage
A brush blockage is a common issue. It happens when debris gets stuck in the brush. This can stop the brush from rotating. To fix this, follow these steps:
- Turn off the robot vacuum.
- Remove the brush module.
- Check for any debris or hair wrapped around the brush.
- Use a cleaning tool or scissors to remove the debris.
- Reattach the brush module.
- Turn the robot vacuum back on and test it.
If the brush still doesn’t work, it might be damaged. Consider replacing it with a new one.
Wheel Motor Fault
A wheel motor fault can occur when the wheels are blocked. This prevents the robot from moving. To troubleshoot a wheel motor fault, you can follow these steps:
- Turn off the robot vacuum.
- Flip the robot vacuum upside down.
- Inspect the wheels for any obstructions.
- Remove any hair, debris, or dirt stuck in the wheels.
- Check if the wheels can rotate freely.
- Turn the robot vacuum back on and check if it moves properly.
If the robot still experiences issues, the wheel motor might need replacement. Contact the manufacturer for further assistance.
| Issue | Possible Solution |
|---|---|
| Brush Blockage | Remove debris, clean or replace the brush. |
| Wheel Motor Fault | Clear obstructions, check wheel rotation, or replace the motor. |
Software Glitches
Robot vacuums can encounter software glitches that affect their performance. These issues may stem from update failures or frequent system reboots. Understanding these problems can help you troubleshoot and fix your robot vacuum.
Update Failures
Robot vacuums need regular software updates to function optimally. Sometimes, these updates fail. Common reasons for update failures include:
- Poor internet connection
- Insufficient battery
- Software bugs
To resolve update failures:
- Ensure a stable internet connection.
- Charge the vacuum fully before updating.
- Restart the update process.
Check the manufacturer’s website for update instructions.
System Reboots
Frequent system reboots can disrupt cleaning schedules. This issue may be due to:
- Corrupted firmware
- Software conflicts
- Hardware malfunctions
To fix system reboots:
- Reset the robot vacuum to factory settings.
- Update the firmware to the latest version.
- Contact customer support if the problem persists.
Regular maintenance can prevent many software glitches.
Connectivity Issues
Robot vacuums need a stable connection to function well. Connectivity issues can disrupt cleaning schedules and performance. Understanding and fixing these issues ensures your vacuum runs smoothly.
Wi-fi Disconnection
A common problem is the Wi-Fi disconnection error. This issue occurs when the vacuum loses its connection to your home network. To fix this, try the following steps:
- Ensure the vacuum is within range of the router.
- Check if the Wi-Fi password entered is correct.
- Restart your router and the vacuum.
Sometimes, interference from other devices can cause disconnections. Ensure there are no large objects blocking the signal. A dual-band router can also help reduce interference.
App Sync Problems
Another issue is app sync problems. This occurs when the vacuum fails to communicate with the app. Follow these steps to resolve it:
- Check if the app is up to date.
- Ensure your phone and vacuum are on the same network.
- Restart both the app and the vacuum.
If the issue persists, reinstall the app. A factory reset of the vacuum may also help. Make sure to back up any important settings before performing a reset.
Credit: www.mwes.com
Maintenance Tips
Maintaining your robot vacuum ensures it runs smoothly and lasts longer. Proper care reduces error codes and prevents breakdowns. Here are some essential maintenance tips to keep your device in top shape.
Regular Cleaning
Regular cleaning is vital for your robot vacuum. Dust and debris can clog components, causing errors. Follow these steps to keep your vacuum clean:
- Empty the dustbin after every use.
- Wipe sensors with a soft cloth.
- Clean the brushes weekly.
- Check the wheels for trapped debris.
Here is a simple table to guide your cleaning schedule:
| Component | Frequency |
|---|---|
| Dustbin | After each use |
| Sensors | Weekly |
| Brushes | Weekly |
| Wheels | Weekly |
Component Replacement
Regular component replacement is necessary to avoid malfunction. Over time, parts wear out and need replacing. Here are some key components and their replacement frequency:
- Filters: Replace every 2-3 months.
- Brushes: Replace every 6-12 months.
- Batteries: Replace every 18-24 months.
A clean and well-maintained robot vacuum performs better. It also minimizes error codes and extends the vacuum’s life. Following these maintenance tips ensures your device runs efficiently and provides the best cleaning results.
When To Seek Professional Help
Robot vacuum error codes can be tricky. Sometimes, troubleshooting on your own is not enough. Recognizing when to call in a professional can save time and prevent further damage.
Unresolved Errors
Some errors persist despite your best efforts. You have followed the manual and tried every possible fix. The error code remains. When this happens, professional help is needed. Experts can diagnose and fix complex issues. They have the right tools and knowledge.
Look out for these signs:
- Error codes that reappear frequently
- Strange noises from the vacuum
- Vacuum not charging properly
Don’t wait too long. Persisting issues can worsen over time. A professional can identify hidden problems early.
Warranty Considerations
Check your warranty before attempting repairs. Unauthorized fixes can void the warranty. This means you could lose coverage for future repairs.
Consider these points:
- Is the vacuum still under warranty?
- Does the warranty cover the specific error?
- Have you contacted the manufacturer for support?
Manufacturers often provide authorized service centers. Using these centers ensures your warranty remains intact. Always read the warranty terms carefully. This will help you understand what is covered and what is not.
In summary, seek professional help when errors persist. Check your warranty before proceeding with repairs. This ensures your vacuum lasts longer and works efficiently.
Frequently Asked Questions
What Are Common Robot Vacuum Error Codes?
Common robot vacuum error codes include E1 for a stuck brush, E2 for a low battery, and E3 for a blocked sensor.
How To Fix A Stuck Brush Error?
To fix a stuck brush error, remove any debris from the brush. Clean the brush regularly to avoid future issues.
Why Does My Robot Vacuum Show A Low Battery Error?
A low battery error indicates that the battery needs to be recharged. Place the vacuum on its charging dock.
What Does A Blocked Sensor Error Mean?
A blocked sensor error means the vacuum’s sensors are obstructed. Clean the sensors to ensure proper functioning.
Conclusion
Understanding robot vacuum error codes simplifies maintenance. This guide helps you fix issues quickly. Save time and effort by following these tips. Stay informed to keep your vacuum running smoothly. Need help? Refer back to this guide anytime. Regular maintenance prevents future errors.
Enjoy a clean home without the hassle. Happy vacuuming!