Are you ready to bring new life to your carpets and upholstery? Using a Kirby Vacuum Shampooer can make your cleaning easier and more effective than ever.
But if you’re unsure where to start or how to get the best results, you’re in the right place. This guide will walk you through every step, helping you unlock the full power of your Kirby machine. By the end, you’ll feel confident and excited to give your home a deep, refreshing clean that lasts.
Keep reading—you’re about to discover a cleaning secret that will change the way you care for your floors.
Kirby Vacuum Shampooer Basics
Start by filling the Kirby shampooer with water and cleaning solution. Push the machine slowly over carpeted areas to clean deeply. Let the carpet dry well after shampooing.
Main Features
The Kirby Vacuum Shampooer cleans carpets deeply and efficiently. It combines vacuuming and shampooing in one machine. It uses strong suction to remove dirt, dust, and pet hair. The shampooer sprays cleaning solution to lift stains from carpet fibers. It also has a powerful brush that scrubs carpets gently. The machine dries carpets quickly after cleaning. This helps prevent mold and bad smells. It is easy to control with simple buttons and handles. The Kirby Vacuum Shampooer works well on different floor types.
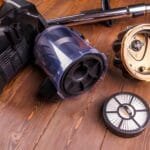
Parts And Attachments
The Kirby Vacuum Shampooer has several important parts. The main body holds the motor and water tank. The water tank stores clean water and shampoo solution. The vacuum head is where suction and brushing happen. The brush roll scrubs carpet fibers to remove dirt. The spray nozzle releases cleaning solution evenly. The recovery tank collects dirty water after cleaning. Different attachments help clean various surfaces. Use the upholstery tool for furniture and stairs. The crevice tool cleans tight spaces and corners. Each part fits securely for safe use.
Setting Up Your Shampooer
Setting up your Kirby Vacuum Shampooer is simple and quick. Proper setup ensures effective cleaning and care for your floors. Follow the steps carefully to prepare your machine for use.
Assembly Steps
Start by unpacking all parts from the box. Locate the shampooer base and the handle. Attach the handle firmly to the base until it clicks. Next, connect the cleaning hose to the designated port. Secure all parts tightly to avoid leaks. Check that the brush roll is installed correctly. Your shampooer is now ready for the next step.
Filling The Solution Tank
Remove the solution tank from the machine carefully. Open the cap and fill it with the recommended cleaning solution. Use clean water to dilute the solution according to instructions. Do not overfill the tank to prevent spills. Close the cap tightly to avoid leaks. Place the tank back into the machine securely. This ensures the shampooer sprays solution evenly during cleaning.
Preparing The Cleaning Area
Preparing the cleaning area is a key step before using your Kirby Vacuum Shampooer. It helps the machine work better and cleans deeper. Taking time to set up the room will save effort later. A clean, clear space lets you shampoo without interruption or damage.
Clearing Furniture And Items
Start by moving small furniture and items off the carpet. Clear toys, rugs, and cables to avoid obstructions. This gives you full access to the carpet surface. Bigger furniture can stay but move it slightly if possible. This prevents stains or water damage from the shampooer.
Vacuuming Before Shampooing
Vacuum the carpet thoroughly before using the shampooer. Remove dust, dirt, and loose particles first. This step stops dirt from mixing with shampoo and settling back in. Use the Kirby vacuum function or a regular vacuum cleaner. A clean carpet surface improves shampooing results and helps the carpet dry faster.
Operating The Shampooer
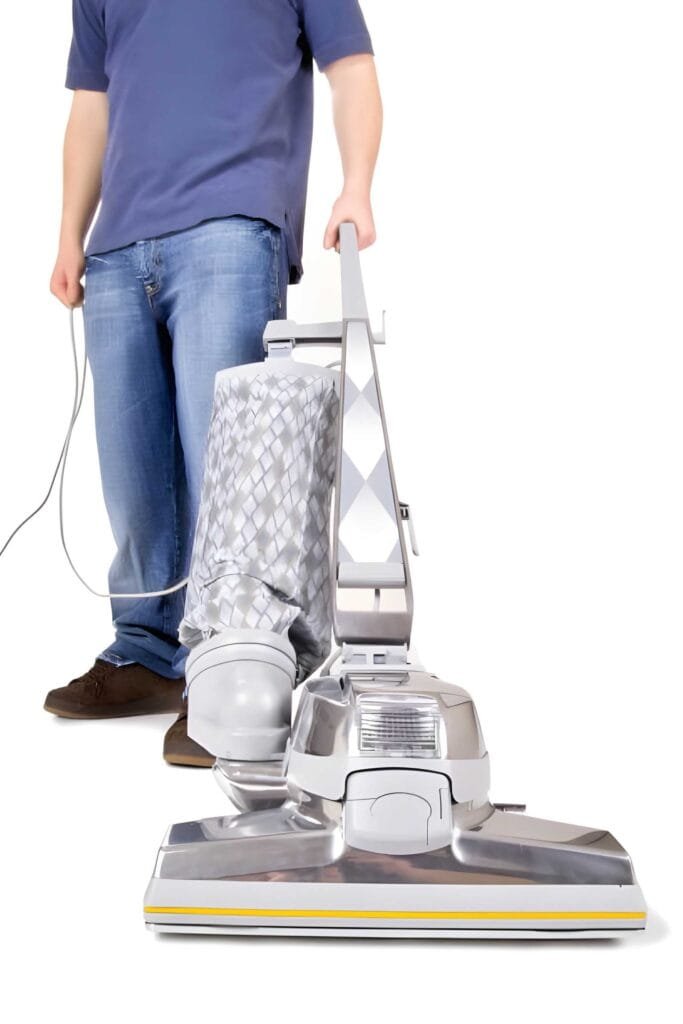
Operating the Kirby Vacuum Shampooer is simple and efficient. Knowing how to use the controls correctly ensures a deep and thorough clean. This section guides you through the key steps for smooth operation.
Choosing The Right Mode
The Kirby Shampooer offers multiple modes for different cleaning needs. Select the mode that fits your carpet or fabric type. Use the “Shampoo” mode for deep cleaning and stain removal. The “Vacuum” mode helps to dry and lift dirt. Adjust the mode switch before starting to avoid damage.
Adjusting Settings For Different Surfaces
Different surfaces require different settings. For delicate rugs or upholstery, lower the brush speed. Hard carpets need stronger suction and faster brushes. Check the height adjustment dial to match the carpet thickness. Proper settings protect your surfaces and improve cleaning results.
Shampooing Techniques
Shampooing with a Kirby vacuum shampooer is simple and effective. Using the right techniques makes your carpets and furniture look fresh and clean. Proper shampooing removes dirt and stains deeply.
Learn how to shampoo different surfaces correctly. This helps keep your home neat and healthy. Follow these easy steps for the best results.
Effective Carpet Cleaning
Start by vacuuming the carpet thoroughly. This removes loose dirt and dust. Fill the Kirby shampooer with the right amount of shampoo solution.
Use slow, overlapping strokes to clean the carpet. Move the machine forward and backward evenly. Avoid rushing to let the shampoo work well.
Focus on stained or heavily soiled areas. Pass over these spots several times for deep cleaning. Let the carpet dry fully before walking on it.
Cleaning Upholstery And Stairs
Attach the upholstery tool for sofas and chairs. Spray shampoo lightly on the fabric. Use gentle strokes to avoid damage.
For stairs, use the smaller brush attachment. Clean each step carefully, covering all edges. Work from top to bottom for safety.
Allow upholstery and stairs to dry in fresh air. Avoid direct sunlight to prevent fading. Repeat shampooing as needed for stubborn spots.
Post-cleaning Steps
After using the Kirby Vacuum Shampooer, proper care is important. Post-cleaning steps keep the machine working well. They also help the vacuum last longer. Follow these simple tasks to maintain your machine.
Emptying And Cleaning The Tank
First, unplug the vacuum for safety. Remove the dirty water tank carefully. Empty all the used water into a sink or drain. Rinse the tank with clean water to remove leftover dirt. Use a soft cloth to wipe the inside of the tank. Let it dry completely before putting it back. This prevents mold and bad smells.
Maintaining The Machine
Check the vacuum for hair or debris stuck in brushes. Clean the brushes gently with your hands or a small tool. Wipe the outside of the machine with a damp cloth. Avoid using strong chemicals that can damage parts. Store the Kirby in a dry place away from dust. Regular maintenance keeps the vacuum ready for the next use.
Troubleshooting Tips
Using a Kirby Vacuum Shampooer is simple, but sometimes issues can arise. Knowing basic troubleshooting tips helps keep your cleaning smooth. This section covers common problems and quick solutions. You can fix many issues by yourself without extra help.
Common Issues
Sometimes the shampooer won’t start. This can happen if the power cord is not plugged in properly. Another issue is weak suction, which may result from a clogged filter or hose. Water not spraying is also common. This often happens when the water tank is empty or the spray nozzle is blocked. Lastly, unusual noises can mean something is stuck inside or parts are loose.
Quick Fixes
Check the power cord and plug it in securely. Clean or replace the filter if suction is low. Fill the water tank with clean water if the spray stops. Remove and clean the spray nozzle to clear blockages. Turn off the machine and check for any stuck objects inside. Tighten loose parts to stop strange noises. These small fixes help your Kirby Vacuum Shampooer work well again.
Safety Tips And Precautions
Using a Kirby Vacuum Shampooer helps keep carpets clean and fresh. Safety is very important during use. Following safety tips protects you and your home. It also keeps the machine working well for a long time.
Handling Chemicals Safely
Use only the cleaning solutions made for your Kirby Shampooer. Do not mix different chemicals. This can cause harmful fumes or damage the machine. Always read the label and follow instructions carefully.
Wear gloves to protect your skin from chemicals. Keep cleaning solutions out of reach of children and pets. Store them in a cool, dry place. Avoid splashing or spilling liquids on floors or furniture.
Electrical Safety
Before plugging in the shampooer, check the cord for damage. Do not use it if the cord is frayed or cut. Keep the power cord away from water and wet areas to avoid electric shock.
Unplug the machine when filling or emptying the water tank. Do not pull the cord to disconnect it. Always turn off the machine before unplugging. Use a grounded outlet for added safety.
Frequently Asked Questions
How Do I Prepare My Kirby Vacuum Shampooer For Use?
First, assemble all parts according to the manual. Fill the clean water tank with warm water and add the recommended amount of shampoo. Attach the shampooer to your Kirby vacuum and plug it in. Ensure all connections are secure before starting.
What Cleaning Solutions Are Safe For Kirby Vacuum Shampooer?
Use only Kirby-approved shampoo or mild detergents. Avoid harsh chemicals or bleach that may damage the machine. Always follow the manufacturer’s guidelines for the best cleaning results and to maintain your vacuum’s longevity.
How Do I Operate The Kirby Vacuum Shampooer Effectively?
Start by vacuuming the area to remove loose dirt. Then, switch to shampoo mode and slowly move the cleaner over the carpet. Use overlapping strokes for even cleaning. Allow carpets to dry fully before walking on them.
How Often Should I Clean My Kirby Vacuum Shampooer?
Clean the shampooer after every use. Empty and rinse the water tanks thoroughly. Wipe down brushes and nozzles to prevent buildup. Regular maintenance ensures optimal performance and extends the vacuum’s lifespan.
Conclusion
Using a Kirby Vacuum Shampooer keeps your carpets clean and fresh. Follow the steps carefully for the best results. Regular cleaning helps maintain your carpet’s look and feel. Don’t rush the process; take your time to clean well. Small efforts make a big difference in your home’s cleanliness.
Now, enjoy a cleaner and healthier living space with ease.