Ultimate Guide to Deep Care
If you want your vacuum to work like new and keep your home spotless, you need more than just a quick clean. Specialized cleaning for vacuums goes beyond the usual dusting and emptying.
It targets hidden dirt, clogs, and worn parts that slow your machine down. Imagine saving money on repairs and breathing cleaner air just by knowing the right way to care for your vacuum. Keep reading to discover simple steps and expert tips that will transform how you maintain your vacuum—and why it matters for your health and home.
:max_bytes(150000):strip_icc()/spr-hoover-cleanslate-xl-deep-clean-spot-cleaner-jkim-0112-e24dd019d63a4c17a5fd3bb83f6e6ad4.jpeg)
Credit: www.thespruce.com
Choosing The Right Cleaning Tools
Choosing the right cleaning tools is key to keeping your vacuum in top shape. Proper tools make cleaning easier and more effective. They help remove dust, hair, and dirt from hard-to-reach parts. With the right supplies, your vacuum lasts longer and works better.
Essential Supplies For Deep Cleaning
Start with a soft brush to clear dust from filters and vents. Use a microfiber cloth to wipe the vacuum’s body and attachments. A can of compressed air helps blow out dirt from tight spaces. Scissors or seam rippers cut tangled hair from brushes. Replace filters and bags regularly for peak performance.
Tools For Different Vacuum Types
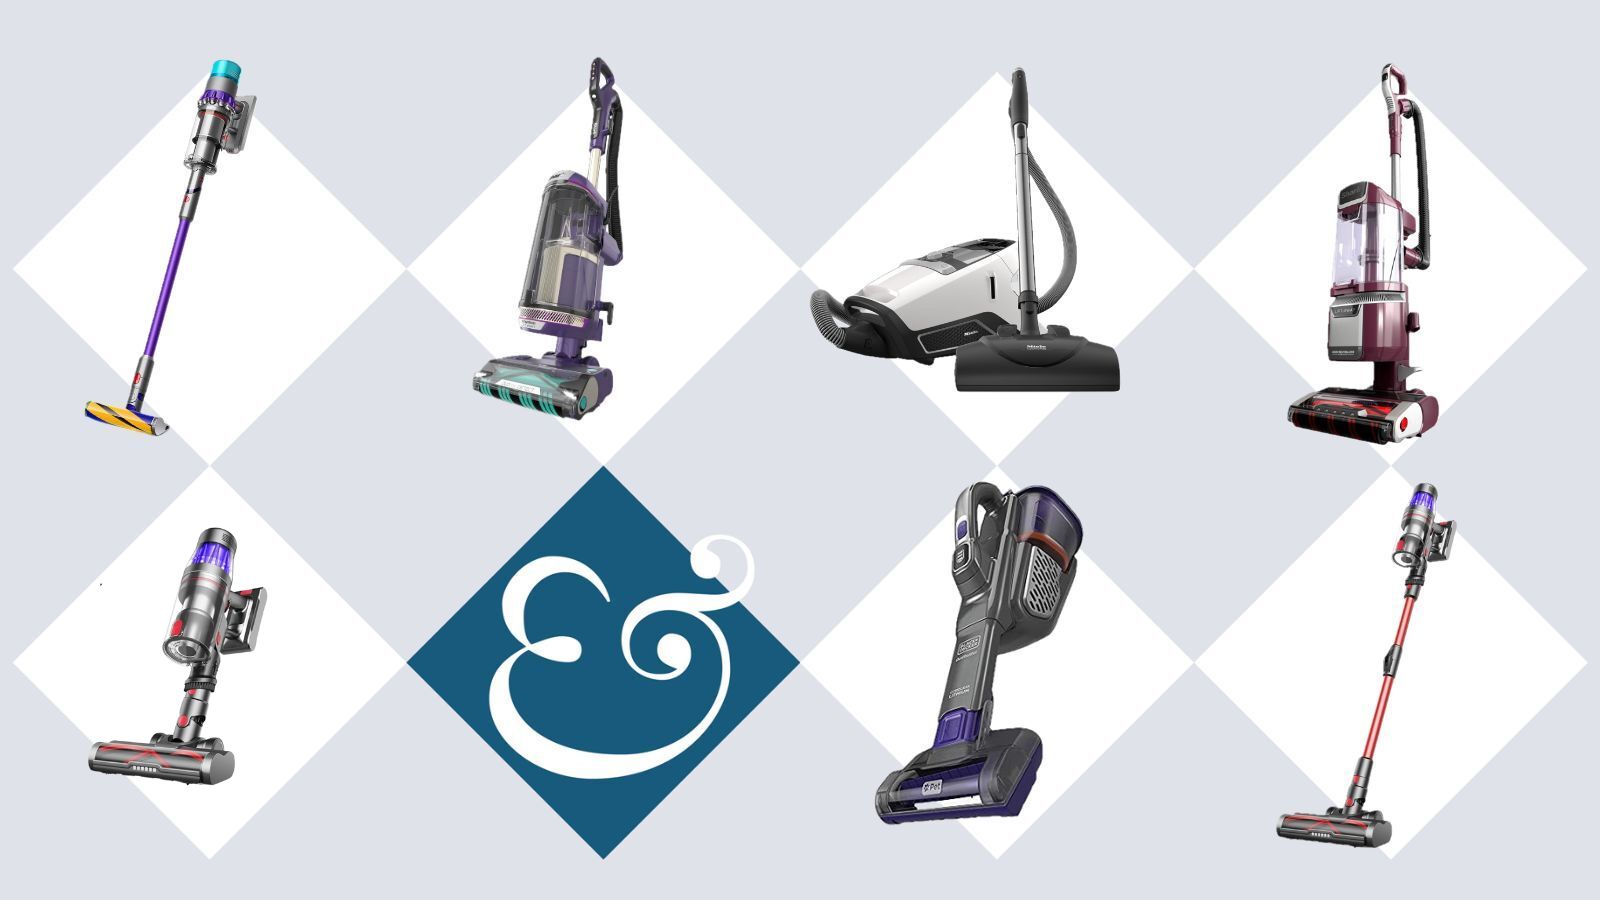
Upright vacuums need a beater bar brush and a crevice tool. Canister vacuums work well with dusting brushes and extension wands. Handheld vacuums benefit from small brushes and flexible nozzles. Robot vacuums often require soft cloths and small screwdrivers for cleaning sensors. Use tools that fit your vacuum type for best results.
Preparing Your Vacuum For Cleaning
Preparing your vacuum for cleaning is the first step to keep it working well. A clean vacuum helps your home stay fresh and free from dust. Taking time to prepare your vacuum makes the cleaning process easier and safer.
Unplugging And Disassembling Parts
Always unplug the vacuum before starting any cleaning. This stops the vacuum from turning on by mistake. Remove the dustbin or bag carefully. Take off any removable parts like brushes and filters. Keep the small parts safe to avoid losing them. Cleaning each part separately helps the vacuum work better.
Safety Tips Before Maintenance
Check the vacuum for damage before cleaning. Look for cracks or broken wires. Use gloves to protect your hands from dirt and sharp parts. Avoid using water on electrical parts. Work in a well-lit space to see all parts clearly. Follow these safety tips to keep yourself safe and your vacuum in good shape.
Cleaning The Filters And Bags
Cleaning the filters and bags of your vacuum is essential. It helps keep the vacuum working well and lasts longer. Dust and dirt can clog the filters and bags. This makes the vacuum less powerful and can cause damage. Regular cleaning keeps your home cleaner and your vacuum in good shape.
Removing And Washing Filters
First, turn off and unplug the vacuum. Find the filter compartment, usually near the dustbin. Take out the filters carefully. Some filters can be washed with water. Use cold or lukewarm water only. Avoid soap unless the manual says it is safe. Let the filters dry completely before putting them back. Wet filters can harm the vacuum motor.
Replacing Or Emptying Vacuum Bags
Check the vacuum bag often. When it is full, remove it gently. Throw away disposable bags properly. For reusable bags, empty the dirt into the trash. Tap the bag to remove stuck dust. Do not overfill bags; this lowers vacuum power. Always replace bags with the right size and type for your model.
Maintaining Brushes And Rollers
Maintaining the brushes and rollers of your vacuum keeps it working well. Clean brushes pick up dirt and dust better. Rollers help the vacuum move smoothly over floors. Regular care prevents damage and improves cleaning power.
Removing Hair And Debris
Hair and debris often wrap around the brush. This stops the brush from spinning freely. Use scissors or your fingers to cut and pull off hair. Clear out dust and small bits stuck in the bristles. Clean brushes make your vacuum work stronger and last longer.
Checking For Wear And Tear
Look at the brushes and rollers carefully. Bent or broken bristles reduce cleaning efficiency. Worn rollers can cause poor suction and uneven movement. Replace parts that look damaged or very worn. Keeping brushes and rollers in good shape saves money and time.
Cleaning The Vacuum Hose And Attachments
Cleaning the vacuum hose and attachments keeps your vacuum working well. Dirt, dust, and debris can block the hose and tools. This reduces suction power and makes cleaning harder. Regular maintenance helps your vacuum last longer and work better. Follow simple steps to clear blockages and wash attachments properly.
Clearing Blockages
Check the vacuum hose for clogs by detaching it. Shine a light inside to spot blockages. Use a broomstick or long brush to push out dirt. Avoid sharp tools that could damage the hose. Clear any debris stuck inside the hose. Also, clean the openings of the attachments. This ensures air flows smoothly during use.
Washing And Drying Attachments
Remove attachments from the vacuum before washing. Use warm water and mild soap to clean them. Gently scrub with a soft brush or cloth. Rinse thoroughly to remove all soap residue. Let the attachments air dry completely before reattaching. Wet parts can cause mold or damage the vacuum motor. Clean attachments improve suction and keep your home healthy.
Credit: www.homesandgardens.com
Cleaning The Vacuum Exterior And Interior
Cleaning the vacuum’s exterior and interior keeps it working well and lasting longer. Dust and dirt build up over time. This can reduce suction and cause bad smells. Regular cleaning removes grime and improves performance. It also helps the vacuum look neat and tidy.
Focus on both outside and inside parts. Each needs special care to stay clean and damage-free. Use the right tools and methods to clean every spot. Doing this ensures your vacuum runs smoothly and lasts for years.
Wiping Down Surfaces
Start by wiping the vacuum’s outer surfaces. Use a damp cloth to remove dust and stains. Avoid soaking the cloth. Too much water can harm the vacuum’s electronics. Pay attention to the handle, body, and buttons. These areas collect grease and dirt from hands.
Clean the dustbin or bag area carefully. Empty it before wiping. Use a soft brush or cloth to clear stuck debris. This keeps the vacuum fresh and prevents clogging.
Reaching Hard-to-clean Areas
Some vacuum parts are tricky to clean. Use a small brush or old toothbrush to reach tight spots. These include the crevices around the wheels and vents. Dirt hides in these places and blocks airflow.
Remove the vacuum head or attachments to clean inside them. Check for tangled hair or threads. Clear these to keep brushes spinning freely. Use compressed air or a vacuum hose to blow out dust from inside parts. This stops buildup and keeps everything running well.
Lubrication And Mechanical Checks
Proper lubrication and mechanical checks keep vacuums running smoothly. These steps reduce wear and tear on moving parts. Regular care extends the vacuum’s life and boosts performance. It also prevents unexpected breakdowns.
Oiling Moving Parts
Oiling moving parts reduces friction and noise. Focus on bearings and joints that move often. Use a light machine oil for best results. Avoid over-oiling to prevent dirt buildup. Apply oil sparingly and wipe away excess. This simple step keeps parts moving freely.
Inspecting Belts And Motors
Check belts for cracks or signs of wear. Worn belts can slip or break, reducing suction power. Replace damaged belts promptly to avoid motor strain. Inspect the motor for dust or debris buildup. Clean gently with a soft brush or cloth. Regular checks protect the vacuum’s core components.
Frequency And Schedule For Deep Cleaning
Keeping your vacuum clean is key to its best performance. Deep cleaning removes dirt and dust trapped inside. It helps the vacuum last longer and work well. Knowing how often to deep clean keeps your home fresh. Follow a clear schedule to avoid damage and clogging.
Signs Your Vacuum Needs Deep Care
The vacuum loses strong suction power. It makes strange noises during use. Dust and dirt spill out from the dustbin or bag. Brushes and rollers get stuck with hair or threads. The vacuum smells bad even after cleaning. These signs show it needs deep cleaning now.
Recommended Cleaning Intervals
Clean the dustbin or empty the bag after every use. Check filters every 1 to 3 months and wash if possible. Deep clean brushes and rollers every 3 months to remove buildup. Inspect the hose and attachments twice a year for blockages. Follow these intervals to keep your vacuum in top shape.
Troubleshooting Common Vacuum Issues
Vacuums can stop working well over time. Knowing how to fix common problems helps keep them running. Simple checks and fixes save money and time. Here are ways to handle common vacuum issues.
Loss Of Suction
Loss of suction is a frequent problem. Dirt and debris can block the hose or filters. Check the hose for clogs by detaching and looking through it. Clean or replace filters regularly. A full dustbin or bag also reduces suction. Empty it when it feels heavy. Make sure the vacuum brush is spinning freely. Blocked or worn brushes affect cleaning power.
Unusual Noises And Smells
Unusual noises often mean a stuck object or motor trouble. Turn off the vacuum and check for debris in the brush or hose. Strange smells usually come from dirty filters or overheating. Clean or change filters to remove odors. Allow the vacuum to cool if it smells hot. Regular cleaning prevents these issues and extends vacuum life.
Extending The Life Of Your Vacuum
Extending the life of your vacuum saves money and keeps your home clean. Regular care and smart habits prevent breakdowns and maintain strong suction. Small steps make a big difference in how long your vacuum lasts.
Best Practices For Daily Use
Empty the dustbin or change the bag often. A full container makes the vacuum work harder. Check for blockages in the hose and brush area. Clean the filters regularly to keep air flowing. Avoid sucking up large objects that can cause damage. Use the right setting for different floors to protect the motor. Turn off the vacuum properly to avoid wear and tear.
Storage Tips
Store your vacuum in a dry, cool place. Keep it away from direct sunlight and moisture. Wrap the cord loosely to avoid damage or tangles. Avoid placing heavy items on top of the vacuum. Keep the attachments together to prevent loss. Store the vacuum upright to protect the brush and wheels. Regularly inspect stored vacuums to catch issues early.
:max_bytes(150000):strip_icc()/spr-shark-stainstriker-jkim-0499-075a3d984fb64d6f99195b47dd913569.jpeg)
Credit: www.thespruce.com
Frequently Asked Questions
How Often Should I Clean My Vacuum For Best Performance?
Cleaning your vacuum every 1-3 months ensures optimal suction and longevity. Regular maintenance prevents dust buildup and motor strain, improving efficiency.
What Parts Of A Vacuum Need Specialized Cleaning?
Filters, brushes, hoses, and dustbins require specialized cleaning. Each part needs specific care to avoid damage and maintain vacuum performance.
Can Specialized Cleaning Extend My Vacuum’s Lifespan?
Yes, specialized cleaning reduces wear and tear, preventing breakdowns. Proper care helps your vacuum last longer and work more effectively.
How Do I Clean Vacuum Filters Properly?
Remove filters and rinse with water or replace if needed. Allow filters to dry completely before reinserting to avoid mold growth.
Conclusion
Specialized cleaning keeps your vacuum working at its best. Dirt and dust build up inside, causing poor performance. Regular care helps avoid costly repairs and extends its life. Simple steps like cleaning filters and brushes make a big difference. A clean vacuum also improves air quality in your home.
Taking time for these tasks protects your investment. Keep your vacuum fresh and efficient with easy, regular cleaning. Small efforts bring big benefits for your cleaning routine.

