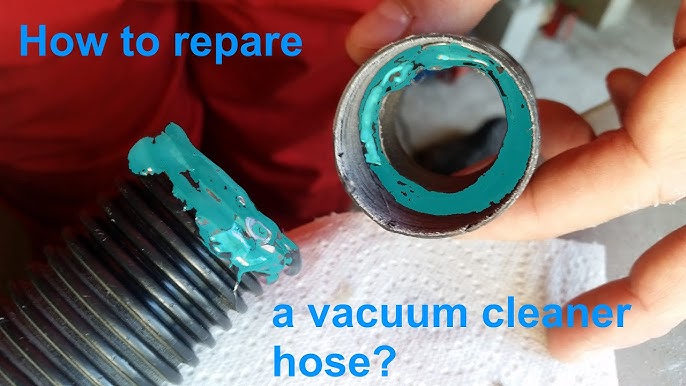
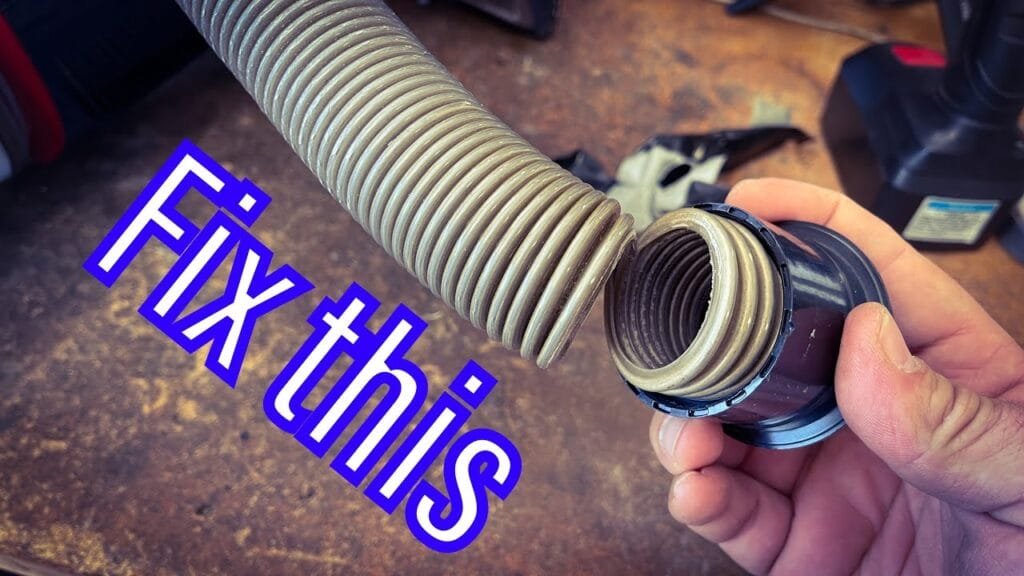
Is your vacuum cleaner hose cracked or leaking air? That annoying problem can make cleaning harder and less effective.
But don’t worry—you don’t have to buy a new vacuum just yet. Fixing your vacuum cleaner hose yourself is easier than you think. In this guide, you’ll discover simple steps to repair holes, cracks, or clogs quickly. Imagine saving money and getting your vacuum working like new again.
Keep reading, and you’ll learn exactly how to bring your vacuum hose back to life in no time!

Credit: www.youtube.com
Common Hose Problems
Vacuum cleaner hoses face problems often. These issues stop the vacuum from working well. Knowing common hose problems helps fix them fast. It saves money and keeps your vacuum strong.
Cracks And Holes
Cracks and holes let air escape. This lowers suction power. Dust and dirt leak out, making a mess. Check the hose for splits or tears. Small holes can grow bigger over time. Use tape or patches to seal small cracks. Replace the hose if damage is too large.
Clogs And Blockages
Dirt, hair, and debris can clog the hose. Blockages stop air flow and reduce cleaning power. A clogged hose may cause the vacuum to overheat. Remove the hose and look inside. Use a long stick or brush to clear the blockage. Regular cleaning prevents build-up and keeps the hose clear.
Loose Connections
Loose connections cause air leaks. The hose may disconnect during use. Check where the hose joins the vacuum and attachments. Tighten or replace worn connectors. A secure fit improves suction and stops the hose from falling off.
Tools And Materials Needed
Repairing a vacuum cleaner hose requires a few simple tools and materials. These help fix holes, cracks, or loose connections quickly. Having the right items ready makes the job easier and faster. Let’s explore the basic tools and parts needed for hose repair.
Basic Repair Kit
A basic repair kit includes small screwdrivers, scissors, and a utility knife. You also need a pair of pliers to hold or bend parts. A cleaning brush helps remove dirt inside the hose. These simple tools support most repair tasks.
Adhesives And Tape Options
Strong adhesives like rubber cement or super glue seal small holes well. Flexible duct tape or electrical tape covers larger tears and keeps the hose airtight. Choose tape that sticks well to plastic or rubber surfaces. These materials hold the hose parts firmly together.
Replacement Parts
Sometimes, you need new hose sections or connectors. Replacement parts come from the vacuum brand or third-party sellers. Check the hose diameter and length before buying. Proper parts ensure a perfect fit and good suction power.
Step-by-step Repair Guide
Repairing a vacuum cleaner hose can save money and extend the life of your device. This guide walks you through each step clearly. Follow these simple instructions to get your hose working like new again.
Locating The Damage
Start by checking the entire hose for holes and tears. Run your hand along the hose while feeling for air leaks. Listen closely for any hissing sounds. Mark the damaged spots with a piece of tape or marker.
Cleaning The Hose
Unplug the vacuum and detach the hose. Use a damp cloth to wipe off dirt and dust outside. For the inside, use a long brush or a flexible rod to remove blockages. Let the hose dry completely before repairs.
Patching Small Holes
Small holes can be fixed with duct tape or a strong adhesive patch. Cut a piece of tape larger than the hole. Press it firmly over the damage. Smooth out any air bubbles to ensure a tight seal.
Fixing Large Tears
Large tears need stronger support. Use a patch made from rubber or vinyl. Apply adhesive on both the patch and the torn area. Hold them together until dry. Wrap duct tape around the patch for extra strength.
Reattaching Loose Ends
If the hose end has come loose, use a hose clamp or strong tape. Slide the clamp over the hose and the vacuum port. Tighten the clamp to secure the connection. Check for air leaks after reattaching.

Credit: aussievac.com.au
Preventing Future Hose Damage
Preventing future hose damage helps keep your vacuum working longer. Small care habits stop cracks and holes. This saves money and time on repairs or replacements.
Taking simple steps protects the hose from wear and tear. Follow these tips to extend your vacuum hose’s life.
Proper Storage Tips
Store the hose in a dry, cool place. Avoid folding or bending it tightly. Hang the hose or coil it loosely to keep its shape. Do not place heavy objects on the hose. Keep it away from sharp tools or edges.
Regular Maintenance
Check the hose for cracks or holes often. Clean the hose inside and outside to remove dust and debris. Use a soft cloth or a brush for cleaning. Make sure the hose dries completely before storing. Replace damaged parts before they get worse.
Handling Best Practices
Handle the hose gently during use and moving. Avoid pulling the hose hard or twisting it. Use the hose only for vacuuming, not for other tasks. Connect and disconnect the hose carefully to avoid stress. Teach everyone in the home to use the hose properly.
When To Replace The Hose
Knowing when to replace your vacuum cleaner hose saves time and keeps cleaning effective. Some hoses can be fixed with simple repairs. Others have damage that stops them from working well. Replacing the hose at the right time prevents loss of suction and dirt build-up inside.
Signs Of Irreparable Damage
Look for big holes or tears that won’t stay patched. Cracks that split open during use mean the hose is weak. If the hose collapses or bends and stays that way, it blocks airflow. Sticky or stiff areas that do not bend back are also a problem. These signs show the hose needs replacement, not repair.
Choosing A Compatible Replacement
Pick a hose that fits your vacuum model. Check the length and diameter to match the old hose. Using the wrong size lowers suction power. Look for hoses made from durable materials. Some brands sell universal hoses that fit many models. Choose a hose with good flexibility for easy use.
Installation Basics
Turn off and unplug the vacuum before starting. Remove the old hose by unlocking or unscrewing it. Attach the new hose by fitting it firmly into place. Make sure connectors lock securely to avoid leaks. Test the vacuum after installation to check suction and fit. Proper installation keeps your vacuum working well.

Credit: www.mistervac.com
Frequently Asked Questions
How Do I Fix A Hole In My Vacuum Cleaner Hose?
To fix a hole, clean the hose surface first. Use duct tape or a hose repair kit to seal the hole. Ensure the patch is airtight for optimal suction. This quick fix prevents loss of vacuum power and extends hose life.
What Tools Are Needed To Repair Vacuum Hose Leaks?
You need duct tape, scissors, a utility knife, and a hose repair kit. Some repairs require glue or clamps. These tools help patch holes or replace damaged hose sections efficiently and securely.
Can I Replace A Vacuum Hose Myself?
Yes, replacing a vacuum hose is simple. Remove the old hose by detaching it from connectors. Attach the new hose firmly to ensure no air leaks. Follow the vacuum model’s manual for specific instructions.
How Do I Prevent Vacuum Hose Damage?
Avoid sharp bends and rough surfaces. Store the hose loosely coiled and away from heat. Regularly check for cracks or holes. Proper care extends hose life and maintains vacuum performance.
Conclusion
Repairing a vacuum cleaner hose saves money and time. Small holes or cracks can cause loss of suction. You only need basic tools and some tape or glue. Check the hose regularly to keep your vacuum working well. Fixing the hose yourself is easier than buying a new one.
Clean and dry the hose before starting any repair. With a little care, your vacuum will last longer and clean better. Keep your home tidy without spending extra on repairs. Simple steps make a big difference in vacuum performance.


