Cleaning vacuum cleaner fans is essential for optimal performance. Dust buildup can reduce efficiency.
Maintaining your vacuum cleaner is vital for it to work effectively. Often, people overlook cleaning the fan, which can impact its power and lifespan. A clean fan ensures your vacuum runs smoothly and effectively picks up dirt. Regular maintenance can save you from costly repairs and replacements.
It’s easier than you might think and doesn’t require special tools. In this post, we will explore the best steps for cleaning vacuum cleaner fans. You’ll find clear, easy-to-follow instructions. This guide will help you keep your vacuum in top shape. Let’s dive into the steps to maintain your vacuum cleaner fan efficiently.
Gather Necessary Tools
Cleaning your vacuum cleaner’s fan might seem like a daunting task, but with the right tools, it becomes a breeze. Before diving into the cleaning process, it’s crucial to gather all the necessary tools to ensure a smooth and efficient job. This preparation will save you time and prevent unexpected interruptions.
Tools Checklist
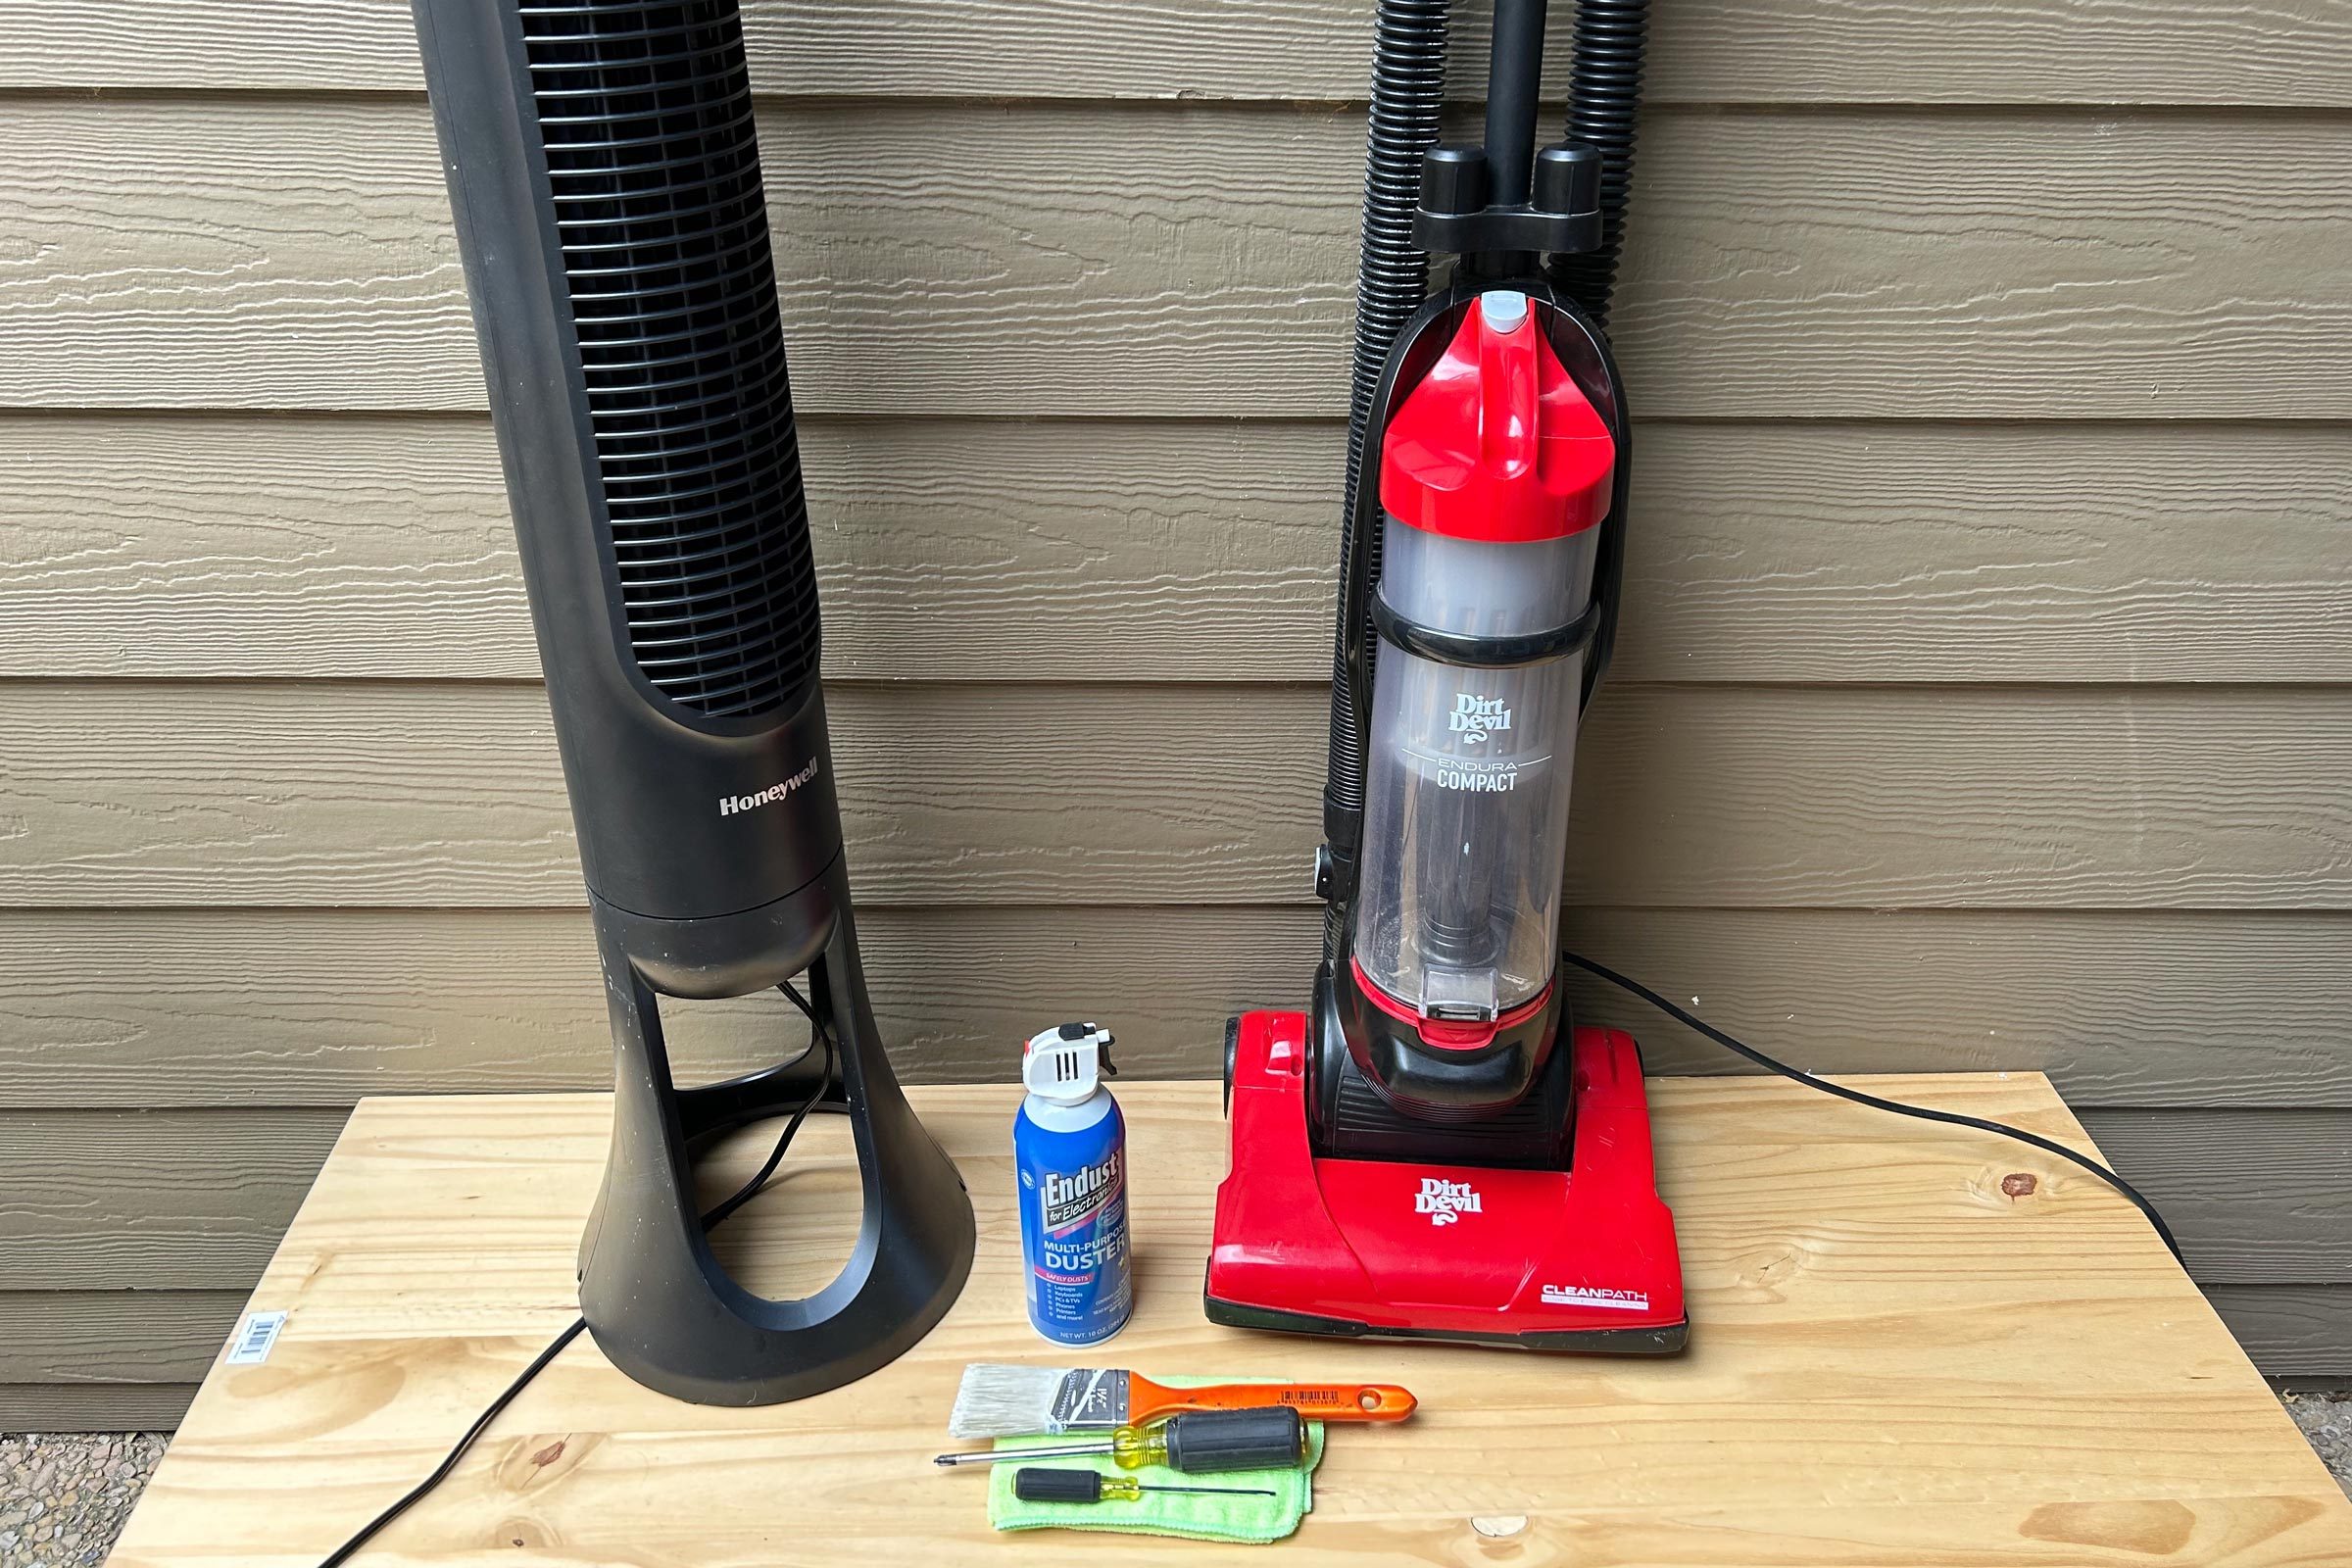
Having the right tools at hand is essential for effective cleaning. Here’s a checklist of items you’ll need:
- Screwdrivers (Phillips and flathead)
- Soft brushes
- Microfiber cloths
- Can of compressed air
- Vacuum cleaner manual
Using a screwdriver, you can easily access the fan compartment. Soft brushes are ideal for removing dust without damaging delicate parts. Microfiber cloths are excellent for wiping surfaces clean, and compressed air helps to blow away stubborn debris.
Safety Gear
Safety should never be an afterthought. Consider wearing the following safety gear:
- Protective gloves
- Safety goggles
- Dust mask
Protective gloves will keep your hands safe from any sharp edges or grime. Safety goggles protect your eyes from dust particles, especially when using compressed air. A dust mask ensures that you don’t inhale any harmful particles during the cleaning process.
One time, I skipped wearing gloves and ended up with a nasty cut from a hidden screw. Lesson learned! So, take a few minutes to gear up properly.
Have you ever started a cleaning task only to realize you’re missing a crucial tool? It’s frustrating. By gathering everything ahead of time, you can focus on cleaning rather than hunting for tools. Let’s make cleaning your vacuum cleaner fan a smooth and hassle-free experience!
Credit: www.homedepot.com
Unplug And Disassemble
Cleaning your vacuum cleaner fan regularly ensures its efficiency and longevity. The first crucial step is to unplug and disassemble the vacuum cleaner. This step guarantees safety and makes the cleaning process more manageable. Follow these simple steps to get started.
Power Off
First, switch off the vacuum cleaner. Ensure it is not running. This action prevents any electrical accidents. Double-check that the power button is in the off position. Unplugging from the power source is essential.
Remove Components
Next, carefully detach the vacuum cleaner parts. Remove the dustbin and filters. Take out the vacuum cleaner fan cover. Keep the screws and small parts in a safe place. This will help in reassembling the vacuum cleaner later.
Once disassembled, you can clean each part thoroughly. Use a soft brush or cloth to remove dust. Be gentle while cleaning the fan blades. They can be delicate.
Clean Exterior Parts
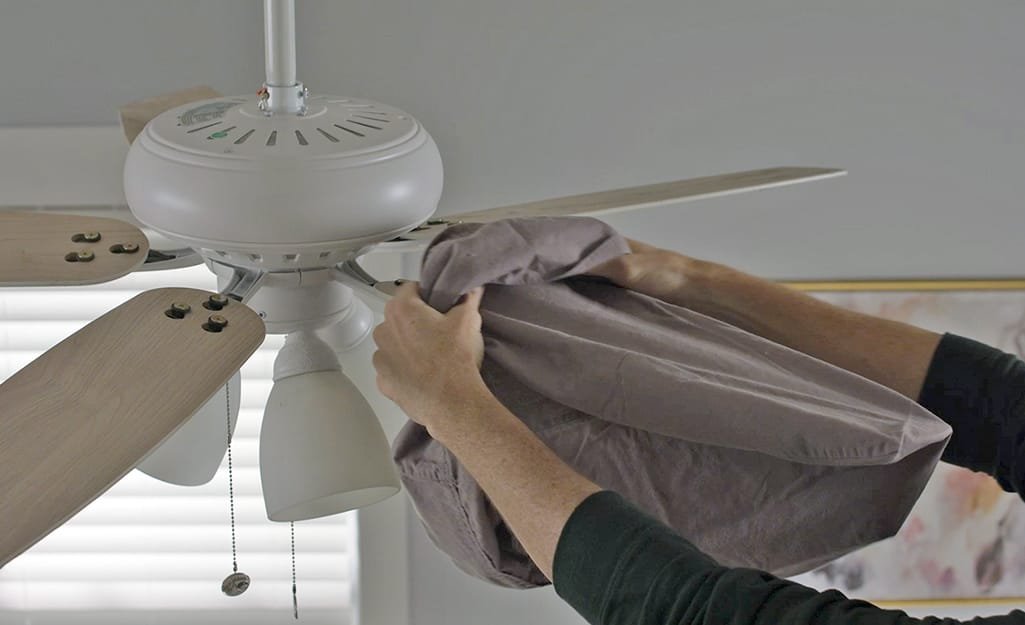
Cleaning the exterior parts of your vacuum cleaner fan is essential. Dust and dirt build up on the surfaces over time. This can affect its performance and lifespan. Regular cleaning will ensure it works efficiently and lasts longer.
Wipe Down Surfaces
Use a damp cloth to wipe the exterior surfaces. Make sure to cover all sides and corners. This removes dust and grime effectively. For stubborn spots, use a mild soap solution. Dry the surface with a clean, soft cloth. This prevents water damage and keeps it looking new.
Inspect For Damage
While cleaning, inspect the exterior for any damage. Look for cracks, dents, or loose parts. These can affect the fan’s performance. If you find any damage, repair or replace the parts. Regular inspection keeps your vacuum cleaner in top shape.
Credit: www.ccsipro.com
Access The Fan
Cleaning the vacuum cleaner fan is crucial for optimal performance. A clean fan ensures efficient airflow and a longer lifespan for your vacuum. Follow these steps to access the fan and keep your vacuum in top shape.
Locate Fan Housing
First, unplug the vacuum cleaner from the power source. Safety is important. Next, identify the fan housing. Typically, it is located near the motor. Refer to your vacuum’s manual for precise guidance. The fan housing is usually a circular or rectangular compartment.
Open Fan Compartment
To open the fan compartment, you may need a screwdriver. Remove the screws securing the housing cover. Keep the screws in a safe place. Gently lift the cover to expose the fan. Be careful not to damage any internal components.
Once open, you can inspect the fan for dust and debris. Use a soft brush or cloth to clean the fan blades. Avoid using water or harsh chemicals. After cleaning, reassemble the fan compartment. Ensure all screws are tight.
Remove Dust And Debris
Cleaning vacuum cleaner fans can help your machine work better. Dust and debris can build up over time. This can make the fan less effective. It’s important to remove this build-up to keep your vacuum running smoothly. Here are the best steps to remove dust and debris from your vacuum cleaner fans.
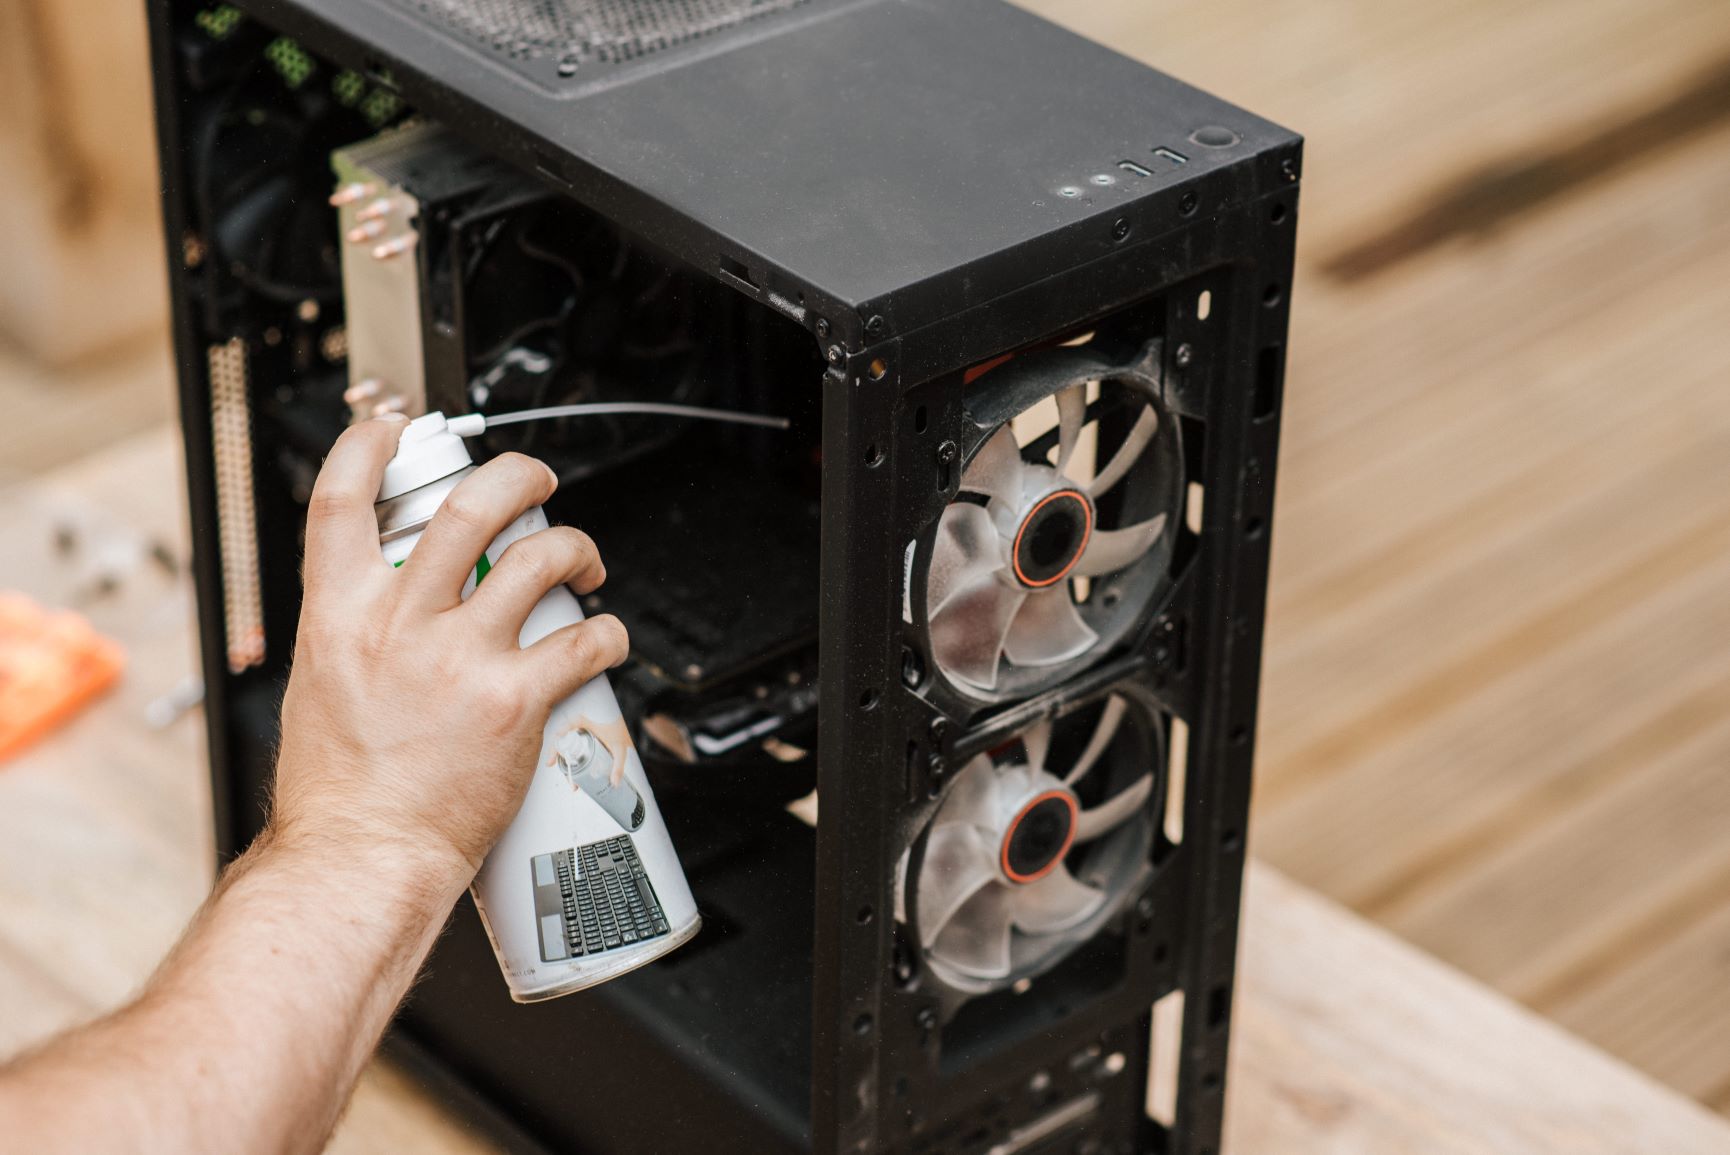
Use Compressed Air
Compressed air is great for cleaning hard-to-reach places. It can blow away dust and debris stuck in the fan. Hold the can of compressed air a few inches away from the fan. Spray short bursts of air to remove the dust. This can help clean areas you can’t reach with a brush.
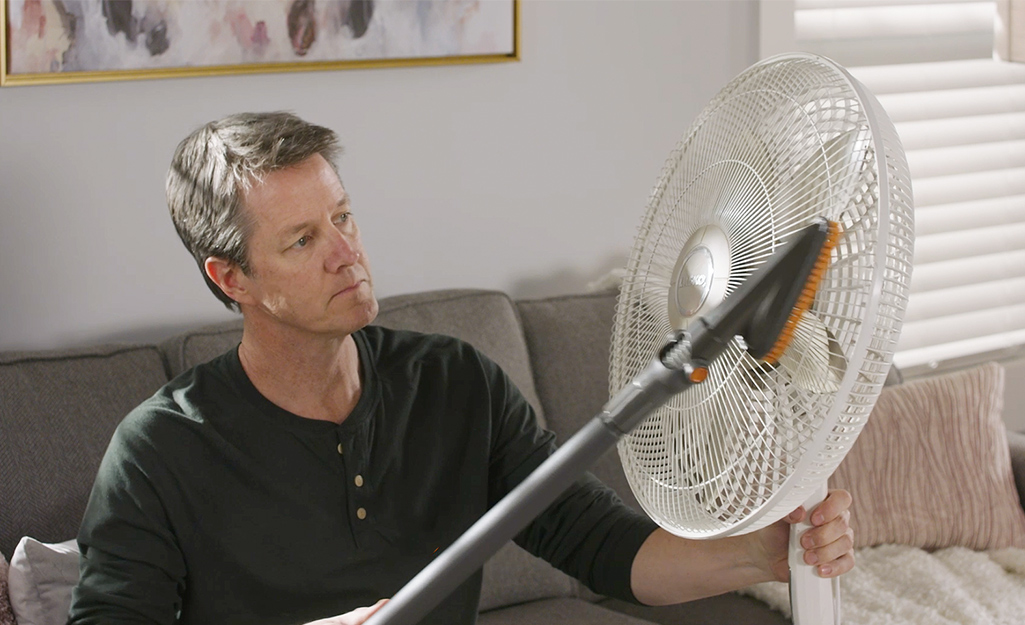
Brush Away Residue
A small brush can be very useful. Use a soft-bristled brush to gently remove any residue. Brush around the fan blades and other components. This will help get rid of stubborn dirt. Make sure the vacuum cleaner is unplugged before you start. Safety first!
Wash Fan Blades
Cleaning the fan blades of your vacuum cleaner is essential. Dust and debris can build up and reduce performance. Properly washing the fan blades helps ensure your vacuum operates efficiently.
Use Soapy Water
Fill a basin with warm water. Add a few drops of mild dish soap. Submerge the fan blades in the soapy water. Use a soft brush to scrub the blades gently. This helps remove dirt and grime. Rinse the blades with clean water. Ensure all soap residue is gone.
Dry Thoroughly
After washing, it is crucial to dry the fan blades. Use a clean towel to pat them dry. Make sure no moisture is left. Moisture can cause rust or damage. For best results, let the blades air dry for a few hours. This ensures they are completely dry before reassembling.
Reassemble Vacuum Cleaner
After thoroughly cleaning your vacuum cleaner’s fan, it’s crucial to reassemble it correctly to ensure it works efficiently. This step can be daunting if you’re not familiar with the process, but with a bit of patience and following the right steps, you’ll have your vacuum cleaner up and running in no time. Let’s break down the reassembly process into manageable parts.
Reattach Components
Start by reattaching the smaller components, such as the fan blades and any screws you removed earlier. Make sure you align each piece correctly to avoid any damage. Using a magnetic screwdriver can be helpful to keep track of those tiny screws.
Always refer to your vacuum cleaner’s manual for specific instructions. Manufacturers often provide detailed diagrams that can guide you. If you’ve lost the manual, many companies offer digital versions online.
Have you ever struggled with reattaching a part? Take your time and don’t force anything. A gentle approach ensures all components fit as they should.
Secure Housing
Once all components are in place, it’s time to secure the housing. Align the casing pieces and press them together until they click into place. Ensuring the housing is properly aligned is essential for the vacuum’s performance.
Have you noticed how some vacuum cleaners have clips or latches? Make sure these are securely fastened. If your model uses screws, double-check that they’re tightened properly to avoid any loose parts.
Finally, plug in your vacuum cleaner and test it out. Listen for any unusual noises which could indicate something is out of place. If everything sounds good, you’ve successfully reassembled your vacuum cleaner!
Doesn’t it feel satisfying to know you’ve done the job right? Now your vacuum cleaner is ready to tackle dust and dirt with renewed efficiency!
Credit: www.familyhandyman.com
Test Functionality
Testing the functionality of your vacuum cleaner fan is a crucial step in the cleaning process. Ensuring that the fan operates correctly can prevent future issues and extend the vacuum’s lifespan. Once you have cleaned the fan, it is essential to test its functionality to confirm everything is in working order.
Power On
First, reconnect the vacuum cleaner to a power source. Make sure all parts are securely in place. Turn on the vacuum cleaner. Listen for any unusual noises. A smooth, consistent sound indicates proper functionality.
Check Performance
After powering on, test the vacuum’s suction power. Run the vacuum over a small area. Check if it picks up dirt efficiently. Weak suction may indicate an issue with the fan. Ensure that no debris is blocking the fan blades. Observe the fan through any available openings. It should spin freely without obstructions.
If the vacuum performs well, your cleaning was successful. If not, consider rechecking the fan for any missed debris. Proper testing ensures your vacuum works efficiently. Regular maintenance can help maintain optimal performance.
Frequently Asked Questions
How Do You Clean A Vacuum Fan?
Unplug the vacuum. Remove the fan cover. Use a brush to clean the fan blades. Wipe with a damp cloth. Reassemble.
How To Clean A Fan Step By Step?
To clean a fan, follow these steps: Unplug the fan. Remove the grill. Wipe blades with a damp cloth. Clean the grill. Reassemble the fan.
What Is The Best Way To Clean Fan Blades?
Use a microfiber cloth to dust fan blades. For deeper cleaning, use soapy water and a cloth. Dry thoroughly.
How Do You Clean Fans Efficiently?
Clean fans efficiently by turning off the power. Use a microfiber cloth to wipe blades. Vacuum dust with a brush attachment. For deeper cleaning, use a damp cloth with mild soap. Dry thoroughly before turning the fan back on.
Conclusion
Cleaning your vacuum cleaner fan ensures better performance and longevity. Regular maintenance prevents dust buildup and improves air quality. Follow these steps to keep it in top condition. Unplug the device before starting. Use a brush to clean the fan blades.
Check for any debris. Reassemble carefully after cleaning. A clean fan means efficient vacuuming and a healthier home. Keep your vacuum at peak performance with these simple steps. Your vacuum will thank you!