Is your Wyze cordless vacuum not holding a charge like it used to? A worn-out battery can slow down your cleaning routine and leave you frustrated.
But don’t worry—you don’t have to replace the whole vacuum. You can easily swap out the battery yourself and get your vacuum back to peak performance. In this guide, you’ll learn exactly how to replace your Wyze cordless vacuum battery step by step.
By the end, you’ll save money and enjoy longer cleaning sessions without interruptions. Ready to bring your vacuum back to life? Let’s dive in!
Signs Your Battery Needs Replacement
Knowing when your Wyze cordless vacuum battery needs replacement saves time and effort. Batteries wear out with use. They lose power and stop working well. Early signs help you act fast. Avoid vacuum problems and keep cleaning easy.
Reduced Runtime
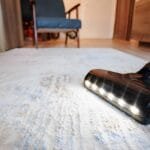
Your vacuum runs less time than before. It stops cleaning sooner than usual. A shorter battery life means it cannot hold charge well. This drop shows the battery is wearing out. Expect less cleaning power and more charging breaks.
Slow Charging
The battery takes too long to charge fully. Charging might drag on for hours. This delay means the battery struggles to accept power. Slow charging is a clear sign of battery aging. It signals a need for replacement soon.
Overheating Issues
The vacuum or battery feels hot during or after use. Heat can damage battery cells and parts. Overheating shows the battery is failing. It can be unsafe to keep using it. Replace the battery to avoid damage or risk.
Tools Required For Replacement
Replacing the battery of your Wyze cordless vacuum needs some basic tools. Having the right tools helps you finish the job quickly and safely. Prepare everything before you start to avoid interruptions.
Below are the main tools you need for the replacement process. Each tool plays a key role in removing the old battery and installing the new one.
Screwdrivers
Screwdrivers are essential for opening the vacuum’s battery compartment. Most Wyze cordless vacuums use small Phillips head screws. A set of precision screwdrivers with different sizes is helpful. Use the correct size to avoid stripping the screws.
Replacement Battery
Choose a battery that matches your Wyze vacuum model. Check the model number on your old battery or in the user manual. Using the right battery ensures good performance and safety. Buy a genuine or high-quality replacement battery.
Safety Gear
Safety is important during battery replacement. Wear safety glasses to protect your eyes from dust or debris. Use gloves to avoid direct contact with the battery. Keep the work area clean and dry to prevent accidents.
Removing The Old Battery
Removing the old battery from your Wyze cordless vacuum is the first step toward keeping it working well. This process is simple and safe when done right. Follow these steps carefully to take out the old battery without damaging the vacuum or hurting yourself.
Powering Off The Vacuum
Before starting, make sure the vacuum is turned off. Press the power button and hold it until the device shuts down. This stops any power flow and keeps you safe during the battery removal.
Accessing The Battery Compartment
Next, find the battery compartment. It is usually at the bottom or back of the vacuum handle. Use a screwdriver if needed to open the cover. Keep the screws safe for reassembly later.
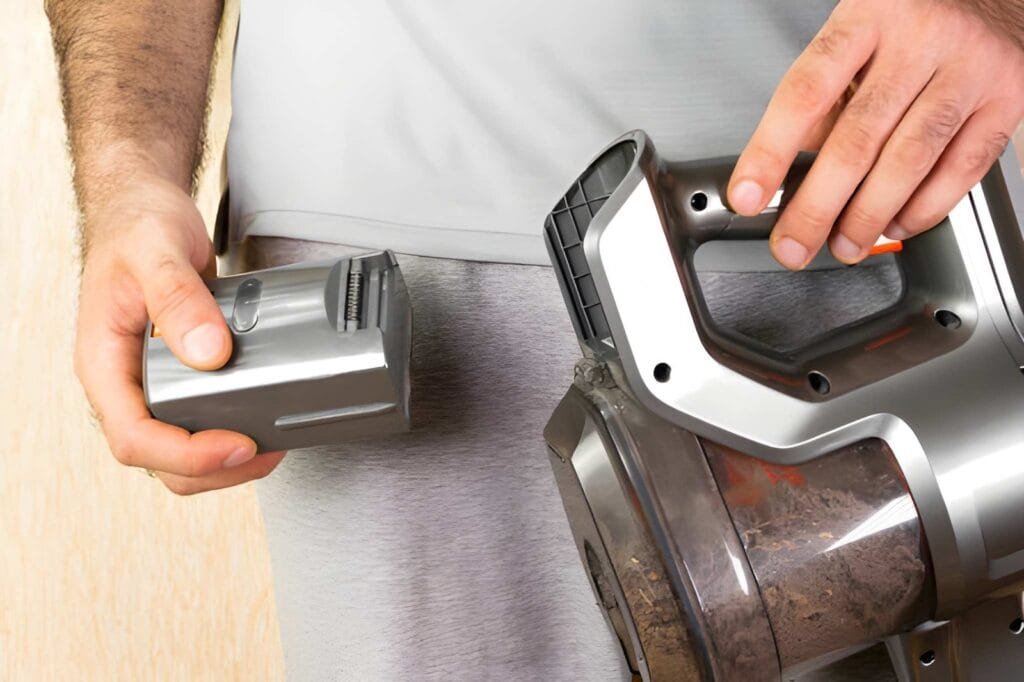
Disconnecting The Battery
Look for the battery connector inside the compartment. Gently unplug the cable by pulling on the connector, not the wires. This avoids damage and frees the battery from the vacuum.
Installing The New Battery
Installing the new battery in your Wyze cordless vacuum is a simple process. It ensures your vacuum works like new again. Follow these steps carefully for a perfect fit and safe operation.
Aligning The Battery Correctly
Start by holding the battery with the connectors facing the vacuum. Match the battery contacts with the vacuum’s terminals. The battery should slide in easily without force. Proper alignment prevents damage and ensures good power flow.
Securing The Battery In Place
Press the battery firmly until you hear a click or feel it lock. This click means the battery is secure. Check if the battery is tight and does not move. A loose battery can cause power loss or damage.
Reassembling The Vacuum
Put back any covers or screws you removed earlier. Make sure all parts fit snugly and are fastened. Test the vacuum by turning it on. Your vacuum is ready to clean with its new battery.
Testing The New Battery
Testing the new battery is a key step after replacement. It ensures your Wyze cordless vacuum works well. Proper testing helps avoid future problems. Follow the steps below to check your vacuum’s battery performance.
Charging The Vacuum
Start by fully charging the vacuum battery. Connect the charger to the vacuum and plug it into the power outlet. Let it charge until the indicator light shows full battery. Do not use the vacuum during charging. This step prepares the battery for accurate testing.
Checking Performance
Turn on the vacuum after charging. Check if it runs smoothly and at full power. Notice how long the vacuum lasts on a full charge. Compare the runtime with the vacuum’s normal use time. A good battery should last as long as the original one. Pay attention to any unusual noises or weak suction.
Troubleshooting Common Issues
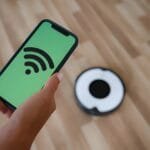
If the vacuum does not charge properly, check the charger and connections. Clean the battery contacts to ensure good contact. If the vacuum runs out of power quickly, the battery may be defective. Try charging it again or test with another battery if possible. Reset the vacuum by turning it off and on. Contact support if problems continue after these steps.
Battery Maintenance Tips
Maintaining the battery of your Wyze cordless vacuum helps it last longer and work better. Simple care steps protect the battery’s health. This way, you avoid frequent replacements and keep your vacuum running smoothly.
Proper Charging Practices
Charge the battery fully before first use. Avoid overcharging by unplugging once full. Use the original charger for best results. Do not let the battery drain completely before charging. Regular partial charges keep the battery healthy.
Storage Recommendations
Store the battery in a cool, dry place. Avoid extreme heat or cold to prevent damage. Remove the battery if storing the vacuum for long. Keep the battery charged around 50% during storage. This prevents the battery from losing capacity.
Extending Battery Lifespan
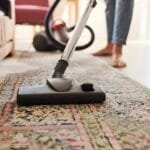
Clean the battery contacts regularly for good connection. Avoid dropping or hitting the battery. Use the vacuum on moderate power settings when possible. Follow these habits to extend your battery life. This saves money and keeps your vacuum ready to use.
Frequently Asked Questions
How Do I Know When To Replace Wyze Vacuum Battery?
You should replace the battery when runtime significantly decreases. Also, check for swelling or charging issues. These signs indicate the battery is failing and needs replacement to maintain optimal vacuum performance.
Where Can I Buy A Replacement Wyze Cordless Vacuum Battery?
Official Wyze website and authorized retailers are the best sources. You can also find compatible batteries on popular e-commerce platforms like Amazon. Always ensure the battery matches your model for safety and efficiency.
Is It Difficult To Replace The Wyze Cordless Vacuum Battery?
No, it’s a simple process that requires no special tools. Just remove the old battery and snap in the new one. Follow safety instructions and your vacuum will be ready to use in minutes.
How Long Does A New Wyze Vacuum Battery Last?
A new battery typically lasts 1 to 2 years with regular use. Runtime per charge usually ranges from 20 to 30 minutes depending on the model and usage conditions.
Conclusion
Replacing the Wyze cordless vacuum battery keeps your device working well. It saves money by avoiding a new vacuum purchase. Follow the steps carefully for a smooth process. Use the right tools and parts for safety. Regular battery care can extend its life.
Now, your vacuum runs longer and cleans better. Stay confident in handling small repairs at home. This simple fix helps you maintain a clean space easily.