Knowing where to oil your vacuum cleaner ensures it runs smoothly. Proper maintenance can extend its lifespan and improve performance.
Vacuum cleaners are essential household tools that keep our homes clean. But like any machine, they need regular care to function at their best. One crucial maintenance task is oiling. This helps reduce friction in moving parts and prevents wear and tear.
This guide will help you identify the key areas to oil in your vacuum cleaner. We’ll discuss why it’s important and provide tips for effective maintenance. Whether you’re a seasoned pro or a beginner, this guide will make the process simple and straightforward.

Credit: www.wikihow.com
Types Of Vacuum Cleaners
When it comes to maintaining your vacuum cleaner, knowing where to oil it can make a huge difference in its efficiency and lifespan. Different types of vacuum cleaners have specific areas that need regular lubrication. Understanding these types can help you keep your machine running smoothly. Let’s dive into the two most common types: upright vacuums and canister vacuums.
Upright Vacuums
Upright vacuums are popular for their ease of use and powerful suction. They often have a motorized brush roll that can get clogged with hair and debris. This brush roll needs regular oiling to keep it spinning freely.
I once had an upright vacuum that started making a terrible noise. After some investigation, I realized the brush roll was stuck. A bit of oil on the bearings solved the problem instantly. It’s a simple fix, but it can prevent a lot of frustration.
Another area to oil in an upright vacuum is the wheels. Well-oiled wheels make it easier to push the vacuum around, especially on thick carpet. Check your vacuum’s user manual for the best type of oil to use.
Canister Vacuums
Canister vacuums, with their separate canister and hose, offer flexibility and maneuverability. The hose connection points can benefit from regular lubrication. This can help prevent wear and tear and ensure a tight seal.
I remember my canister vacuum hose getting stuck frequently. A little oil at the connection points made a world of difference. It not only made it easier to attach and detach the hose but also improved suction.
Also, pay attention to the wheels on the canister unit. Oiling these can make moving the canister around much smoother. This is particularly useful if you have a large space to clean.
Have you ever noticed your vacuum cleaner struggling or making strange noises? Often, a bit of oil in the right place can solve these issues. Knowing your vacuum type and where to oil it can save you time and effort. Do you have a specific area in your home where your vacuum frequently struggles? Maybe it’s time to give it some TLC.
Necessary Tools And Supplies
Maintaining your vacuum cleaner ensures it runs smoothly and lasts longer. One key aspect is oiling its moving parts. Before starting, gather all necessary tools and supplies. This will make the process easier and more efficient.
Recommended Oils
Choose the right oil for your vacuum cleaner. Light machine oil works well. Avoid heavy oils or grease. They can clog the vacuum parts.
Sewing machine oil is a good option. It is light and easy to apply. Always check your vacuum’s manual. It may recommend a specific oil type.
Essential Tools
You need a few tools for this task. A small screwdriver is important. It helps you open the vacuum’s casing. A clean cloth or rag is also essential. Use it to wipe away dust and old oil.
An oil applicator is useful. This can be a small bottle with a nozzle. It helps you apply oil precisely. Tweezers can help remove any debris. A flashlight ensures you see all parts clearly. With these tools, you can oil your vacuum effectively.
Preparing Your Vacuum Cleaner
Before oiling your vacuum cleaner, preparation is key. A well-prepared vacuum ensures effective maintenance. This guide will help you get ready. Follow these steps for the best results.
Cleaning The Vacuum
First, clean the exterior of your vacuum. Use a damp cloth to wipe off dust. Pay attention to crevices where dirt hides. A clean vacuum makes the next steps easier.
Next, remove the vacuum bag or empty the dust canister. Dispose of all collected dirt. This prevents any mess during disassembly. Check the filters and clean them as well. A clean filter improves performance.
Disassembling Components
Now, begin disassembling your vacuum cleaner. Start with the easy-to-remove parts. Take out the hose, brush roll, and attachments. Place them aside in a safe spot. Keep track of all screws and small pieces.
Refer to your vacuum’s manual for detailed instructions. Follow the steps carefully. Some vacuums may require special tools. Ensure you have everything needed before starting. This will prevent interruptions.
With the components disassembled, you can now locate the areas to oil. Focus on the moving parts. These include the brush roll and motor bearings. Proper lubrication ensures smooth operation.
Oiling The Motor
Oiling the motor of your vacuum cleaner ensures its efficiency and longevity. Regular maintenance can prevent wear and tear, keeping your vacuum running smoothly. Let’s dive into the steps required to oil the motor of your vacuum cleaner.
Locating The Motor
First, you need to locate the motor. Unplug your vacuum cleaner for safety. Then, remove the screws or clips holding the cover in place. Carefully lift the cover to reveal the internal components. The motor is usually at the center or near the rear of the vacuum.
Applying The Oil
Once you have located the motor, look for the oil ports. These are small openings or caps on the motor. Use a light machine oil or vacuum-specific oil. Apply a few drops of oil into each port. Avoid over-oiling, as this can damage the motor. After oiling, reassemble the vacuum cleaner. Ensure all parts are securely in place before using it.
Lubricating The Brush Roll
Lubricating the brush roll helps maintain your vacuum cleaner’s performance. Locate the brush roll, remove it, and apply oil to the ends. This keeps the brush roll spinning smoothly.
Lubricating the Brush Roll of your vacuum cleaner can make a significant difference in its performance and lifespan. Proper maintenance ensures smooth operation and prevents annoying squeaks. It’s a simple task that can save you from costly repairs down the line.Identifying The Brush Roll
First, you need to locate the brush roll. It’s typically found at the base of your vacuum cleaner. The brush roll is the rotating part that picks up dirt and debris from your floors.Consult your vacuum’s manual if you’re unsure. Most manuals provide a clear diagram. If you’ve misplaced the manual, check online for a digital version.Proper Lubrication Technique
Once you’ve identified the brush roll, the next step is lubrication. Use a lubricant specifically designed for vacuum cleaners. WD-40 or sewing machine oil works well too.Apply a small amount of lubricant to the ends of the brush roll. Rotate the brush roll manually to distribute the oil evenly. Wipe away any excess oil with a cloth to prevent dirt from sticking.Regular lubrication can keep your vacuum running smoothly. How often do you maintain your vacuum? Regular checks can prevent minor issues from becoming major problems.Invest a few minutes in this simple task. Your vacuum cleaner will thank you with better performance and longevity.
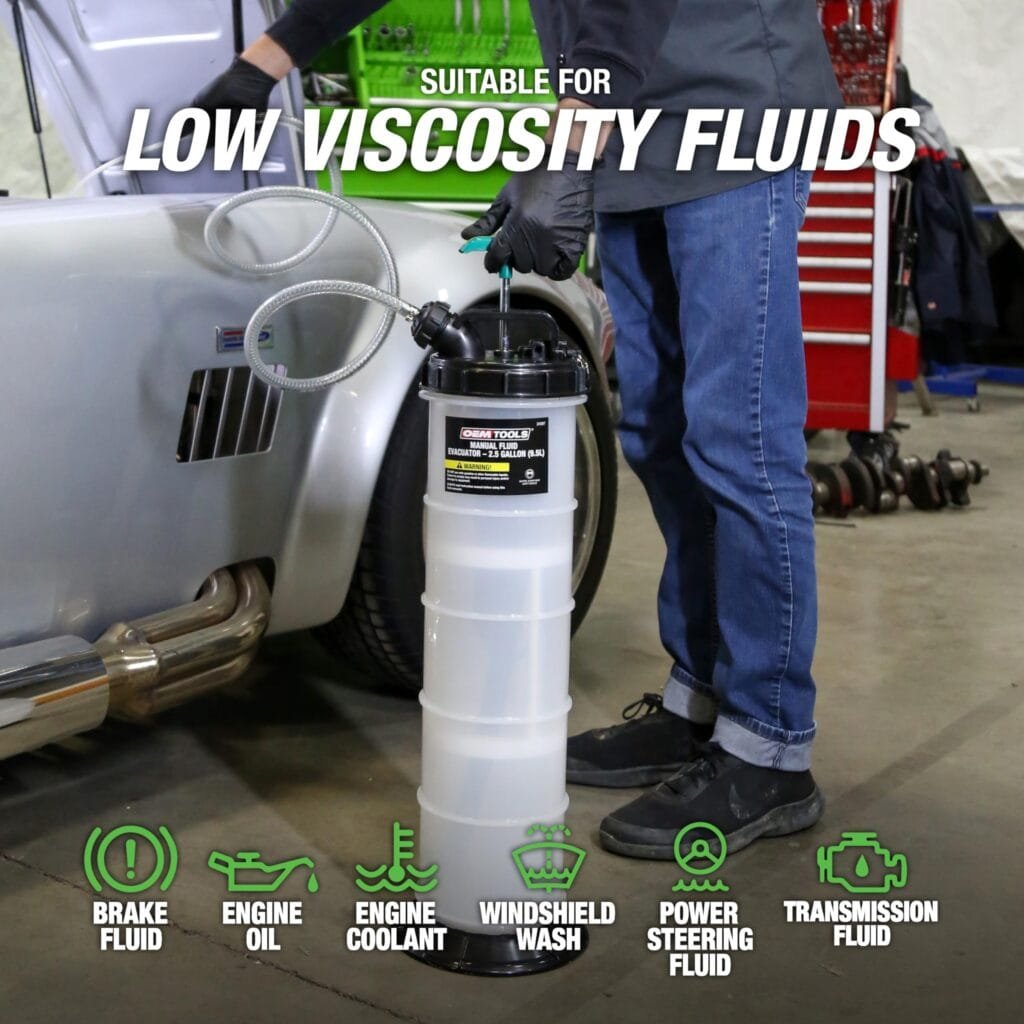
Credit: www.amazon.com
Maintaining The Wheels
Proper maintenance of your vacuum cleaner’s wheels ensures smooth movement. This can help extend the life of your machine. Regular oiling reduces friction. This makes it easier to push and pull the vacuum across surfaces.
In this section, we will cover the types of wheels on vacuum cleaners. We will also explain how to lubricate the axles. Both steps are essential for keeping your vacuum in top condition.
Types Of Wheels
Vacuum cleaners come with different types of wheels. Plastic wheels are common. They are durable and easy to clean. Rubber wheels offer better grip. They are ideal for hardwood floors. Ball wheels allow greater maneuverability. They move smoothly in all directions.
Knowing the type of wheels on your vacuum helps in proper maintenance. Each type has unique needs. Check your vacuum’s manual for specific instructions.
Lubricating The Axles
Lubricating the axles is a simple process. First, remove the wheels. This often requires a screwdriver. Apply a few drops of light machine oil to the axle. Turn the wheel to spread the oil evenly. Reattach the wheels securely.
Make sure to use the right kind of oil. Light machine oil works best. Avoid using heavy oils. They can attract dust and debris. This can cause more harm than good.
Regular lubrication keeps the wheels turning smoothly. This reduces strain on the vacuum. It also makes cleaning less of a chore. Aim to oil the axles every few months. This small task can make a big difference.
Reassembling And Testing
Carefully reassemble your vacuum cleaner after oiling. Test it to ensure smooth operation. Notice any unusual noises or issues promptly.
Reassembling and testing your vacuum cleaner after oiling is a crucial step to ensure it runs smoothly. It’s like putting together a puzzle; you need to make sure each piece is in the right place to get the full picture. Let’s dive into the process of reassembling and testing your vacuum cleaner to make sure everything is working perfectly.Reassembling Parts
Start by laying out all the parts you’ve taken apart. This helps you keep track of everything.Begin with the motor. Align it correctly and secure it with screws. Make sure it’s snug but not overly tight.Next, reattach any belts or hoses you removed. They should fit seamlessly without any force.Finally, snap or screw the outer casing back on. Double-check that all parts are aligned and there are no gaps.Testing The Vacuum
Plug in your vacuum cleaner and turn it on. Listen for any unusual noises. A smooth sound indicates proper reassembly.Test it on a small section of carpet or flooring. Observe the suction power. Is it the same as before or better?Move the vacuum around to ensure all parts are securely fastened. If something feels loose, turn it off and check the assembly again.Have you ever wondered if you missed a step? Don’t worry, it’s normal to double-check.A well-oiled and correctly reassembled vacuum should glide easily, picking up debris efficiently.By following these steps, you can ensure your vacuum cleaner runs effectively, saving you time and effort in your cleaning routine.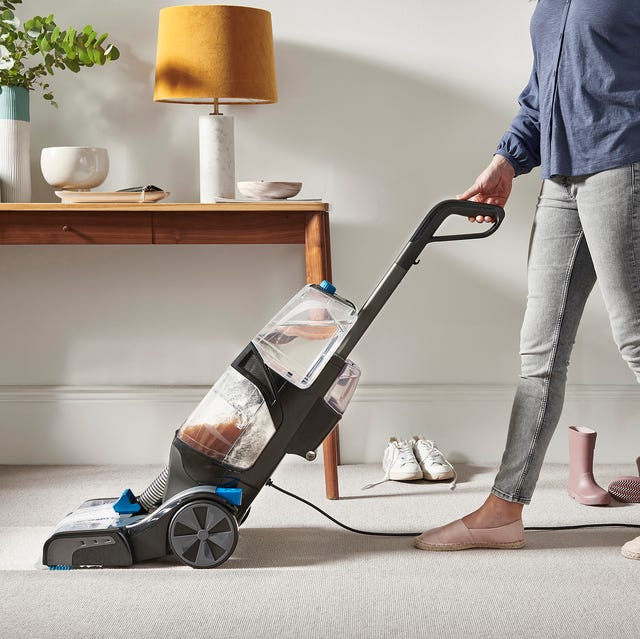
Credit: www.goodhousekeeping.com
Expert Tips
Properly oiling your vacuum cleaner is crucial for its longevity. Knowing where to oil can prevent wear and tear. Follow these expert tips to ensure your vacuum runs smoothly.
Frequency Of Oiling
Regular oiling keeps your vacuum working efficiently. Aim to oil your vacuum cleaner every six months. If used daily, consider oiling more frequently. Check the user manual for specific recommendations.
Signs Of Over-oiling
Too much oil can damage your vacuum. Look for these signs to avoid over-oiling:
- Excess oil on the exterior
- Greasy or slippery parts
- Reduced suction power
Remove excess oil with a clean cloth. Ensure all parts are dry before using your vacuum again.
Frequently Asked Questions
What Is The Proper Maintenance Of A Vacuum Cleaner?
Properly maintain a vacuum cleaner by emptying the dustbin regularly. Clean or replace filters monthly. Check and remove clogs from hoses and brushes. Inspect the belt and replace it if worn out. Store the vacuum in a dry place.
Where Do You Put Essential Oils In A Hoover?
Place essential oils on the vacuum’s filter or inside the bag. Avoid adding oils directly to the machine’s components.
How To Get Rid Of Smell From Vacuum Cleaner?
Clean or replace the vacuum filter regularly. Empty the bag or canister after each use. Add a vacuum deodorizer or baking soda to the bag or canister. Keep the vacuum brush and hose clean.
Where Should I Store My Vacuum Cleaner?
Store your vacuum cleaner in a cool, dry place like a closet or utility room. Keep it accessible for regular use.
Conclusion
Oiling your vacuum cleaner ensures better performance. Regular maintenance keeps it running smoothly. Locate the oil points easily with our guide. Follow these tips for a longer-lasting vacuum. Keep your home clean with less effort. Proper care saves you money on repairs.
Enjoy a cleaner space every day. Don’t wait until it breaks. Act now and keep your vacuum in top shape. Happy cleaning!