Setting up your Shark Robot Vacuum doesn’t have to be a hassle. Imagine coming home to floors that are always clean without lifting a finger.
You’re just a few simple steps away from making that a reality. In this guide, you’ll learn exactly how to get your Shark Robot Vacuum up and running quickly and easily. By the time you’re done, you’ll wonder how you ever lived without it.
Ready to take the first step toward smarter cleaning? Let’s dive in.
Unboxing Your Shark Robot Vacuum
Unboxing your Shark Robot Vacuum is the first step toward a cleaner home. The process is simple and exciting. This section guides you through what to expect inside the box and how to check the device carefully before use.
Checking Included Accessories
Open the box carefully and remove all items. Look for the vacuum cleaner, charging dock, power adapter, and user manual. You might also find extra brushes or filters depending on the model. Count each accessory to ensure nothing is missing. Having all parts ready helps in smooth setup and use.
Inspecting The Device
Take the robot vacuum out and check its surface. Look for any scratches or dents that might have happened during shipping. Make sure the wheels turn freely and the sensors look clean. Check the dustbin and filter slots to confirm they are empty and properly fitted. This helps your vacuum work well from the start.
Charging The Vacuum
Charging your Shark robot vacuum is the first step to keeping it ready for cleaning. Proper charging ensures the vacuum works well and lasts longer. Follow these simple steps to set up the charging correctly.
Placing The Charging Base
Choose a flat, open space for the charging base. Keep it near a power outlet. Make sure there is at least 3 feet of clear space in front of it. Avoid placing the base under furniture or in tight corners. This helps the vacuum find the base easily when it needs to charge.
Initial Charging Tips
Place the robot vacuum on the charging base carefully. Let it charge fully before the first use. This can take up to 3 hours. Avoid moving the vacuum during this time. A full charge helps the battery last longer. Check the indicator light to know when charging is complete.
Downloading The Sharkclean App
Downloading the SharkClean app is the first step to control your Shark Robot Vacuum. This app allows you to start cleaning, set schedules, and check your vacuum’s status. It connects your phone to the vacuum, making cleaning simple and smart.
App Compatibility
The SharkClean app works on most smartphones. It supports both Android and iOS devices. Check your phone’s app store for the SharkClean app. Make sure your phone’s operating system is up to date. This helps avoid problems during installation. The app needs at least Android 6.0 or iOS 12.0 to work correctly.
Creating An Account
After downloading, open the app and create your account. Use a valid email address and create a strong password. The app may ask for permission to access your location. Allow this to connect your vacuum to Wi-Fi. Follow the steps to add your Shark Robot Vacuum. Your account helps save your settings and manage multiple devices.
Connecting To Wi-fi
Connecting your Shark Robot Vacuum to Wi-Fi is a key step for smart control. This link lets you use your phone to start cleaning anytime. It also helps receive updates and alerts easily. Follow simple steps to set up the connection without trouble.
Selecting Network Settings
Turn on your vacuum and open the SharkClean app. Choose your home Wi-Fi network from the list shown. Enter your Wi-Fi password carefully to avoid errors. Use a 2.4 GHz network, as 5 GHz often won’t connect. Make sure your phone stays close to the vacuum during setup.
Troubleshooting Connection Issues
Check your Wi-Fi signal strength near the vacuum. Restart your router and vacuum if connection fails. Confirm the Wi-Fi password is correct and try again. Move the vacuum closer to the router to improve signal. Reset the vacuum’s network settings if problems continue.
Setting Up Cleaning Preferences
Setting up cleaning preferences for your Shark Robot Vacuum helps make cleaning easier. You can control how and when the vacuum cleans your home. This section explains how to set your cleaning schedule and adjust cleaning modes to fit your needs.
Scheduling Cleanings
Open the Shark app on your phone to start scheduling. Choose the days you want the vacuum to clean. Set the exact time for each cleaning session. You can schedule daily or only on certain days. This keeps your home clean without any extra work.
Make sure your vacuum is connected to Wi-Fi for the schedule to work. You can change or cancel schedules anytime in the app. Scheduling cleanings saves time and keeps floors tidy automatically.
Adjusting Cleaning Modes
Your Shark vacuum has different cleaning modes for various needs. Select the mode depending on floor type or dirt level. For example, use “Quiet” mode for less noise. Choose “Max” mode for deep cleaning carpets. The app lets you switch modes easily before or during cleaning.
Adjusting modes helps your vacuum clean better and saves battery life. Try different modes to see which works best in each room. This way, your vacuum cleans efficiently every time.
Placing Virtual Boundaries
Placing virtual boundaries helps control where your Shark Robot Vacuum cleans. This feature saves time and stops the vacuum from entering unwanted areas. You can set these boundaries easily through the app. Virtual boundaries keep your home organized during cleaning.
Using No-go Zones
No-Go Zones block the vacuum from specific spots. Mark these zones in the app by drawing lines or boxes. The vacuum will avoid these areas completely. Use No-Go Zones to protect fragile items or messy spots.
Setting Up Keep-out Areas
Keep-Out Areas act as larger barriers for the vacuum. They stop the vacuum from crossing into rooms or wide spaces. Set these areas by selecting parts of your floor plan in the app. Keep-Out Areas help focus cleaning on only the rooms you want.
Maintaining Your Shark Robot
Maintaining your Shark Robot vacuum is key to its long life and best performance. Regular care keeps it running smoothly. It also helps the vacuum clean your home better every time.
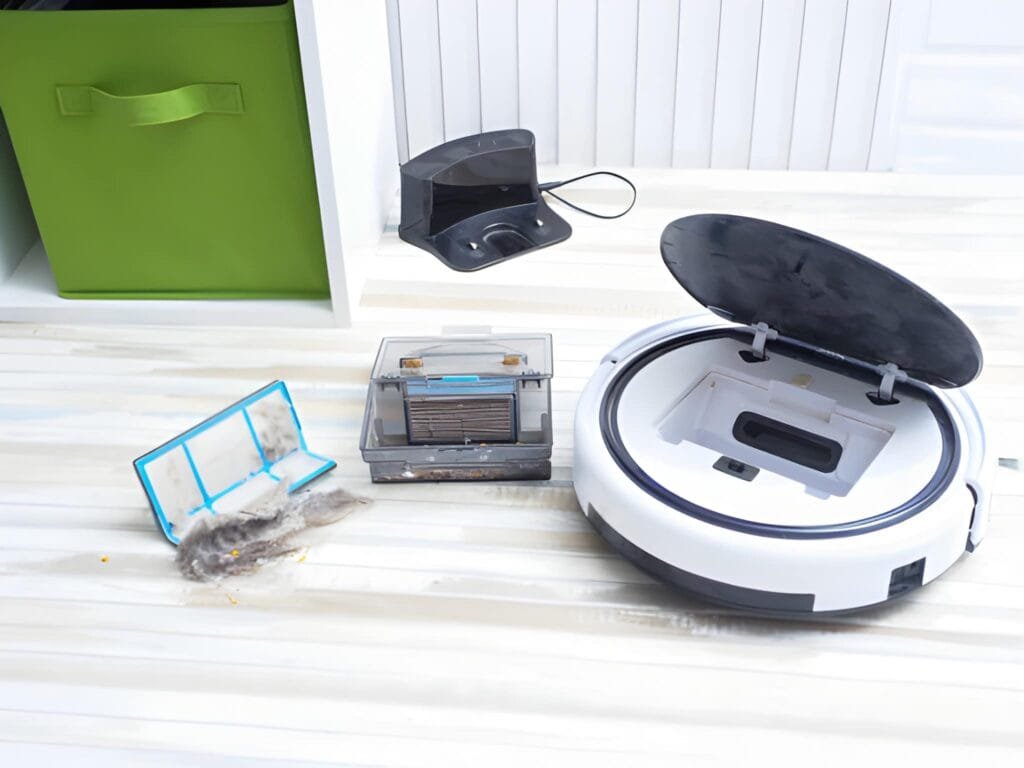
Cleaning Brushes And Filters
Brushes pick up dirt and hair. They can get tangled or clogged. Remove the brushes carefully. Use your fingers or a tool to clear hair and debris. Clean the filters too. Rinse them under water and let them dry fully before putting back. Clean brushes and filters every week for best results.
Emptying The Dustbin
The dustbin collects dirt and dust. Empty it after each cleaning. Press the release button to remove the bin. Dump the dirt into the trash. Rinse the bin with water if needed. Dry it well before reinserting. Keeping the dustbin empty prevents clogs and keeps suction strong.
Troubleshooting Common Issues
Troubleshooting common issues with your Shark Robot Vacuum is simple. Many problems can be fixed quickly at home. This saves time and helps keep your vacuum working well. Follow these easy steps to solve frequent problems.
Resetting The Device
Resetting your Shark Robot Vacuum can fix many errors. To reset, turn off the vacuum and unplug it. Wait for about 10 seconds. Plug it back in and turn it on. This clears minor glitches and restarts the system.
If the vacuum still does not work, try a factory reset. Press and hold the reset button for 10 seconds. This returns the vacuum to its original settings. Use this option only if other fixes fail.
Handling Error Messages
Error messages help identify problems quickly. Check the vacuum display or app for the code. Match the code with the user manual to know the issue.
Common errors include stuck brushes, full dustbins, or blocked sensors. Clear any blockages and empty the dustbin. Clean sensors gently with a soft cloth. Restart the vacuum after fixing the problem.
Frequently Asked Questions
How Do I Connect My Shark Robot Vacuum To Wi-fi?
To connect, power on the vacuum and enable Wi-Fi on your phone. Open the SharkClean app, follow prompts to add the device, and enter your Wi-Fi password. Ensure your router supports 2. 4 GHz for a stable connection.
What Is The Best Way To Charge Shark Robot Vacuum?
Place the robot vacuum on its charging dock. Ensure the dock is plugged into a power source and located against a wall. The vacuum will automatically dock and charge when battery is low. Charging takes about 3-4 hours for full battery.
How Do I Schedule Cleaning On Shark Robot Vacuum?
Use the SharkClean app to set cleaning schedules. Open the app, select your vacuum, and choose “Schedule Cleaning. ” Set preferred days and times for automatic cleaning. The vacuum will start cleaning at the scheduled time without manual intervention.
How Often Should I Clean The Shark Robot Vacuum Filters?
Clean filters every 1-2 weeks for optimal performance. Remove and tap out dust or wash if washable. Replace filters every 2-3 months or as recommended. Regular filter maintenance improves suction and extends vacuum life.
Conclusion
Setting up your Shark Robot Vacuum is quick and simple. Follow the steps carefully to get the best results. Regular cleaning keeps your home tidy and fresh. Enjoy more free time with less effort. Keep the vacuum charged and clear of obstacles for smooth work.
Small daily actions make a big difference in cleaning. Start your setup today and see how easy it can be. Your home will thank you for the extra care.