Is your car acting up, or is your engine running rough? A vacuum leak might be the hidden problem causing these issues.
Fixing a vacuum leak may seem tricky, but with the right steps, you can solve it yourself and save time and money. In this guide, you’ll learn exactly how to find and fix that leak, even if you’re not a mechanic.
Keep reading—you’re closer than you think to getting your engine back to smooth, reliable performance.
Signs Of A Vacuum Leak
Detecting a vacuum leak early helps keep your vacuum working well. Leaks reduce cleaning power and can cause damage over time. Knowing the signs can save time and money on repairs.
Reduced Suction Power
Your vacuum may not pick up dirt properly. Cleaning takes longer and feels less effective. Reduced suction often means air is escaping from a leak. Check for weak spots in suction during use.
Unusual Noises
Listen for strange sounds like hissing or whistling. These noises often come from air escaping the vacuum. A sudden change in sound can point to a new leak. Noises might get louder as the vacuum runs.
Visible Damage Or Cracks
Inspect the vacuum hose and body for cracks or holes. Damage can be small but cause big suction problems. Look closely around joints and connections. Even tiny cracks let air escape and reduce performance.
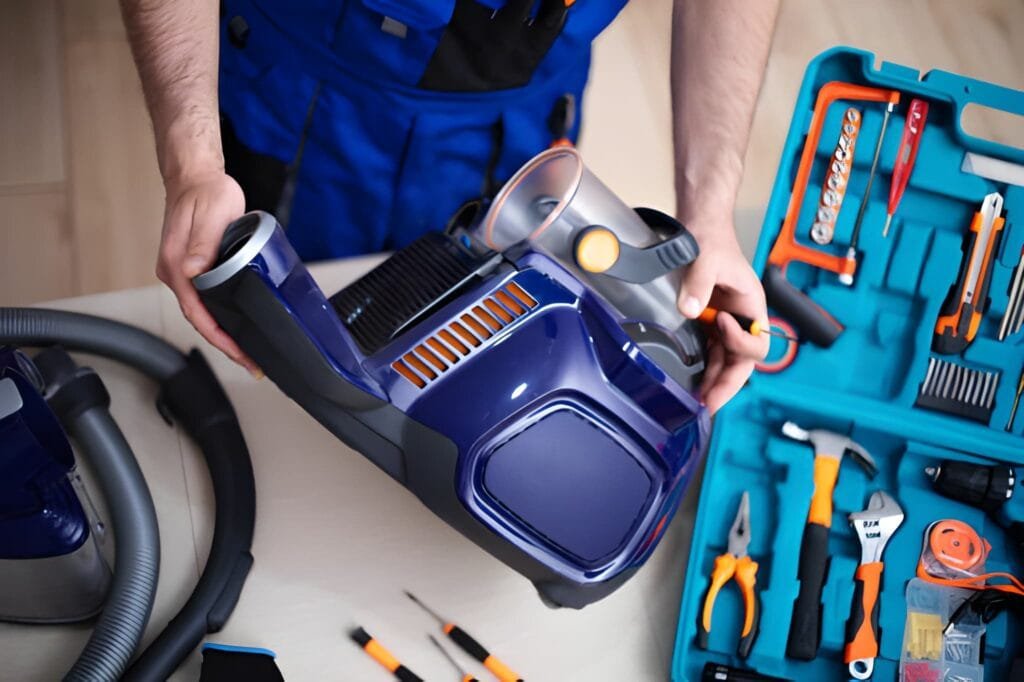
Tools You’ll Need
Fixing a vacuum leak needs the right tools. Having these tools ready makes the repair easier and faster. This section explains the essential tools for the job. You can prepare everything before starting your work.
Basic Repair Kit
A basic repair kit includes screwdrivers, pliers, and wrenches. These tools help open vacuum parts and tighten connections. A flashlight is useful to see inside dark areas. A small mirror can help spot leaks in hard-to-reach places.
Sealants And Tape
Sealants stop air from leaking through gaps. Use silicone sealant for flexible and strong sealing. High-quality duct tape or vacuum tape can cover small holes temporarily. Make sure the tape sticks well and covers the leak completely.
Cleaning Supplies
Cleaning supplies remove dust and dirt around the leak. Use a soft cloth and mild detergent to clean surfaces. Rubbing alcohol helps remove grease that stops sealants from sticking. Clean surfaces make repairs last longer and work better.
Locating The Leak
Finding a vacuum leak is the first step to fixing the problem. Air leaks reduce suction and lower cleaning power. Knowing where to check saves time and effort. Focus on parts where air can escape.
Checking Hoses And Connections
Start by looking at all hoses. Check for cracks, holes, or loose ends. Wiggle connections to see if air escapes. Tighten loose fittings and replace damaged hoses. These parts often cause leaks.
Inspecting Filters And Seals
Filters and seals keep air inside the vacuum. Remove filters and check for tears or blockages. Examine seals around the dustbin and motor. Replace any worn or broken seals. Clean filters if they are dirty.
Using Water Or Soapy Solution
Use water or soapy water to find leaks. Apply it to suspected areas with a brush or cloth. Look for bubbles, which show escaping air. This method works well on hoses and seals. Dry the parts well before reassembling the vacuum.
Fixing Hose And Connection Leaks
Fixing hose and connection leaks is a key step in solving vacuum leaks. These leaks often occur at the points where hoses join or connect to parts. Small cracks, loose fittings, or worn-out seals can cause air to escape. Finding and fixing these leaks helps restore vacuum power and improves engine performance.
Applying Tape Or Sealant
Use vacuum tape or sealant to cover small cracks or holes. Wrap the tape tightly around the hose near the leak. Sealant can fill gaps at connections. Make sure the surface is clean and dry before applying. This method works well for minor leaks and slows air loss.
Replacing Damaged Parts
Check hoses and connectors for cracks or breaks. Replace any parts that look worn or damaged. Use parts made for your vacuum system to ensure a good fit. Swapping old parts fixes leaks and prevents future problems. Keep spare hoses and connectors handy for quick fixes.
Securing Loose Connections
Loose connections allow air to escape easily. Tighten clamps or fasteners holding hoses in place. Push hoses firmly onto fittings to ensure a tight seal. Use new clamps if old ones are rusty or weak. A secure connection stops air leaks and keeps the system strong.
Repairing Filter And Seal Issues
Repairing filter and seal issues is important to fix vacuum leaks. Filters catch dust and dirt, but they can get dirty or damaged. Seals keep air from escaping, but they can wear out or break. Fixing these parts helps your vacuum work better and last longer.
Cleaning Or Replacing Filters
Filters block dirt from reaching the motor. Over time, filters fill with dust and lose their power. Remove the filter and check if it looks clogged or torn. Clean it with water if it is washable. Let it dry completely before putting it back. Replace the filter if it is damaged or very dirty. A clean filter improves suction and air flow.
Reseating Or Replacing Seals
Seals stop air from leaking around the vacuum parts. Check seals around the dustbin and hose for cracks or gaps. Press the seals firmly into place to reseat them. Replace seals if they are cracked, hard, or missing pieces. New seals keep the vacuum air tight. This helps the vacuum hold strong suction and work well.
Preventing Future Leaks
Preventing future vacuum leaks saves time and money. Small leaks can grow worse without care. Keep your vacuum in top shape with simple steps. These habits help your vacuum last longer and work better.
Regular Maintenance Tips
Check hoses and seals often for cracks or holes. Clean filters regularly to avoid blockages. Replace worn-out parts quickly to stop leaks. Inspect connections to ensure they fit tightly. A well-maintained vacuum prevents air from escaping.
Proper Storage Practices
Store your vacuum in a dry, cool place. Avoid bending or twisting hoses when storing. Keep parts organized and avoid placing heavy items on them. Proper storage stops damage that causes leaks. It keeps your vacuum ready for use.
Frequently Asked Questions
What Are Common Signs Of A Vacuum Leak?
Common signs include rough idling, engine misfires, poor fuel economy, and a hissing sound near the engine. These symptoms often indicate unmetered air entering the system, causing performance issues.
How Can I Detect A Vacuum Leak At Home?
You can use a smoke machine, soapy water spray, or listen for hissing sounds. Carefully inspect hoses and connections for cracks, holes, or loose fittings to find leaks.
Which Tools Help Fix A Vacuum Leak Effectively?
Essential tools include a smoke tester, vacuum gauge, pliers, screwdrivers, and replacement hoses or gaskets. These tools help locate and repair leaks quickly and accurately.
Can A Vacuum Leak Cause Engine Stalling?
Yes, a vacuum leak disrupts the air-fuel mixture, leading to engine stalling or rough idling. Fixing the leak restores proper engine performance and prevents stalls.
Conclusion
Fixing a vacuum leak helps your engine run smoothly. Small leaks can cause big problems if ignored. Check hoses and connections carefully for cracks or loose parts. Tighten or replace damaged pieces right away. Regular inspections keep your car in good shape.
Simple steps save money and avoid bigger repairs later. Stay safe and keep your vehicle healthy. Taking action now makes a big difference.