Is your Shark vacuum not working like it used to? You rely on it to keep your home clean, and when it stops picking up dirt, it’s frustrating.
But don’t rush to buy a new one just yet. You can fix many common problems yourself, saving time and money. In this guide, you’ll discover simple steps to repair your Shark vacuum quickly and get it running like new again.
Keep reading to take control of the situation and bring your vacuum back to life.
Common Shark Vacuum Issues
Shark vacuums are popular for cleaning homes efficiently. Despite their quality, they can face some common problems. Understanding these issues helps you fix them quickly. This saves time and money. Knowing what to check first makes repairs easier.
Loss Of Suction Power
Loss of suction is a common problem with Shark vacuums. Dirt and debris can block the filters or hose. Check the dust cup and empty it if full. Clean or replace clogged filters. Inspect the hose for any clogs or holes. These steps often restore strong suction.
Brush Roll Not Spinning
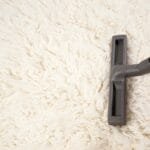
The brush roll helps pick up dirt from carpets. If it stops spinning, the vacuum loses cleaning power. Remove hair or strings wrapped around the brush roll. Check if the belt is broken or loose. Replace the belt if needed. Make sure the brush roll spins freely after cleaning.
Vacuum Not Turning On
Sometimes Shark vacuums fail to start. First, check if the vacuum is plugged in correctly. Test the power outlet to see if it works. Inspect the power cord for damage. If the vacuum has a reset button, press it. These checks help find the cause quickly.
Strange Noises Or Smells
Unusual sounds or bad smells often indicate a problem. A blocked brush roll or motor can cause strange noises. Overheating may produce a burning smell. Clean the brush roll and filters regularly. If smells persist, stop using the vacuum and inspect it. This prevents damage and keeps the vacuum safe.
Tools Needed For Repair
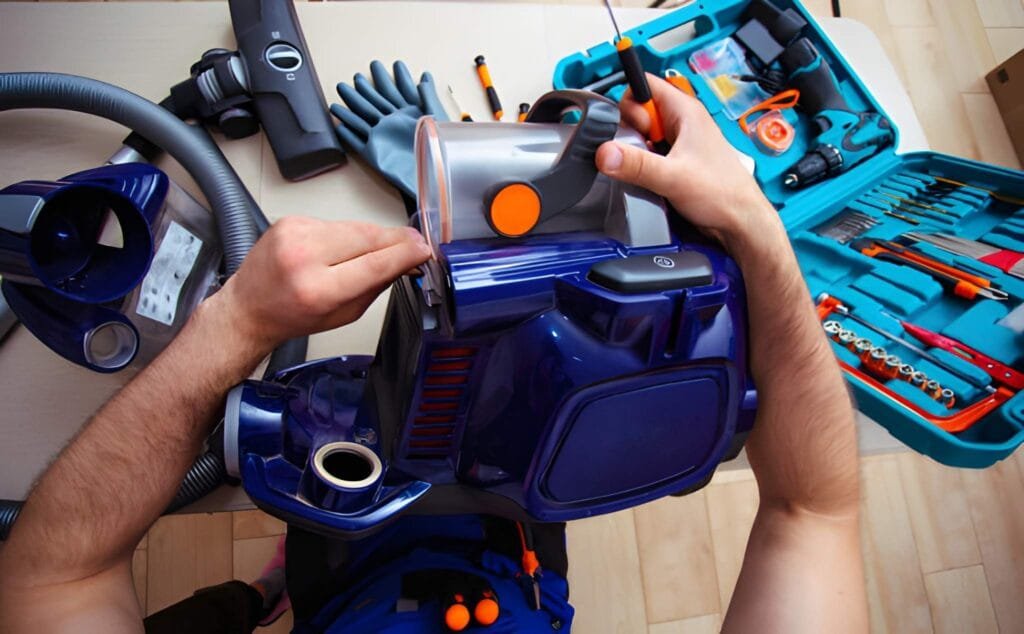
Repairing a Shark vacuum requires the right tools. Having these tools ready makes the process easier and faster. It helps you fix common problems without extra help. Below are the main tools needed for most repairs.
Basic Hand Tools
Simple hand tools help you open and fix your vacuum. A screwdriver set with different heads works well. Pliers help with gripping small parts or wires. A wrench might be needed for tightening bolts. Keep a small flashlight nearby for better visibility inside the machine.
Replacement Parts
Some parts wear out or break and need replacement. Common parts include belts, filters, and brushes. Check your vacuum model for exact parts. Use only parts made for Shark vacuums. This ensures proper fit and function.
Cleaning Supplies
Cleaning supplies keep parts free of dust and debris. Use soft cloths to wipe surfaces. A can of compressed air clears dust from tight spaces. Mild soap and water help clean washable parts. Avoid harsh chemicals that can damage plastic components.
Step-by-step Repair Guide
Repairing a Shark vacuum can save money and extend its life. This step-by-step guide helps fix common problems. Follow each step carefully for the best results.
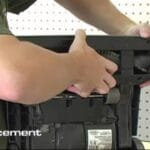
Unplug And Disassemble
Always unplug the vacuum before starting. Remove the dustbin and filters. Open the brush roll cover to access internal parts. Keep screws and small parts safe.
Clean Filters And Dustbin
Take out all filters. Wash them with water if washable. Let filters dry completely before putting back. Empty the dustbin and wipe it clean.
Check And Clear Blockages
Look inside the vacuum hose and brush roll area. Remove any hair, dirt, or debris blocking airflow. Use a long object or brush to clear tight spots.
Inspect And Replace Belt
Check the belt around the brush roll. Look for cracks, stretching, or damage. Replace the belt if it shows wear. New belts keep the brush roll spinning well.
Test Brush Roll Function
Manually spin the brush roll to check movement. It should turn smoothly without noise. If stuck, clean the ends and remove tangled hair. Reassemble and test again.
Examine Electrical Connections
Look at wires and plugs inside the vacuum. Make sure all connections are tight and secure. Replace damaged wires or connectors to avoid power loss.
Tips For Maintaining Your Vacuum
Maintaining your Shark vacuum helps it work well for a long time. Small steps keep it clean and prevent damage. This saves money and avoids hassle. Follow these simple tips to keep your vacuum in top shape.
Regular Cleaning Schedule
Clean your vacuum after every few uses. Empty the dust cup when it is half full. Wipe down the brush roll to remove hair and debris. Check the filters and wash them every month. A clean vacuum picks up dirt better and lasts longer.
Proper Storage Practices
Store your vacuum in a dry place to avoid damage. Keep it upright to protect the brushes and motor. Avoid wrapping the cord too tightly to prevent wear. Proper storage keeps your vacuum safe and ready to use.
When To Seek Professional Help
Call a professional if the vacuum stops working suddenly. Strange noises or burning smells need expert attention. If parts are broken or not moving, a repair expert can fix them. Regular care avoids many problems, but some need a pro’s help.
Frequently Asked Questions
How Do I Fix A Shark Vacuum That Won’t Turn On?
Check the power source and plug connection first. Inspect the power cord for damage. Reset the vacuum if it has a reset button. If issues persist, the motor or switch may need professional repair or replacement.
Why Is My Shark Vacuum Losing Suction Power?
Clogged filters or a full dustbin often cause suction loss. Clean or replace filters regularly. Check for blockages in the hose or brush roll. Proper maintenance improves suction and vacuum efficiency.
How Can I Unclog A Shark Vacuum Hose?
Detach the hose from the vacuum. Use a long, flexible brush or a straightened wire to clear blockages. Avoid sharp objects that may damage the hose. Regularly inspect and clean the hose to prevent clogs.
When Should I Replace Shark Vacuum Filters?
Replace filters every 3 to 6 months, depending on use. Signs include reduced suction and unpleasant odors. Clean washable filters regularly to extend their lifespan. Using fresh filters maintains optimal vacuum performance.
Conclusion
Repairing your Shark vacuum can save time and money. Start by checking common problems like clogs or worn parts. Follow clear steps to fix each issue carefully. Regular cleaning and simple maintenance keep your vacuum working well. Small efforts prevent bigger problems later.
Stay patient and take your time during repairs. Your Shark vacuum will work better and last longer. Keep these tips handy for easy fixes at home.